 Jeroen Pelgrims
DIY chicken coop from old pallets

Index§
- Why build a chicken coop?
- Requirements of the coop
- Planning before building
- Photos of the building process
- Price
Why build a chicken coop?§
I recently—well, 6 months ago—bought an apartment with a large, by Antwerp standards, garden. There's a few reasons for this, mainly that I love gardening but also that I want to keep a few pets. Eventually a dog, but for now I thought chickens could be fun. Trash disposal, egg and fertilizer factory all combined into one animal!
But I also try to be frugal and don't want to spend a few hundred euro's on a small prefab coop which most likely doesn't even meets the most often suggested minimum size for chicken coops. So why not build it with disassembled EUR pallets? This will save me some of the cost of the wood that I need.
Requirements of the coop§
So what are these minimum sizes for coops and what other requirements do I have?
Minimum amount of chickens§
Chickens are social creatures, so you can't just keep one.
The most often named number of chickens you should keep minimum is 3, although 2 might be doable as well. [1] [2]
Seeing I'm just a guy by myself I think I might start with 2 and if needed add a third.
Space inside the coop§
Each chicken should have about 0,25 m2 of space within the coop [1] [2]
With this in mind I'd need at least 0,5 m2 for 2 chickens or 0,75 m2 for 3.
The EUR pallets have standard sizes with planks of 1,2m and 0,8m. So if I make a rectangle of these planks this gives me 1,2 * 0,8 = 0,96 m2.
With the space of the nesting boxes added to it this should add upp to about 1 m2.
So just about enough size for 4 chickens to be comfortable if I would want to get some more later.
Easy cleaning§
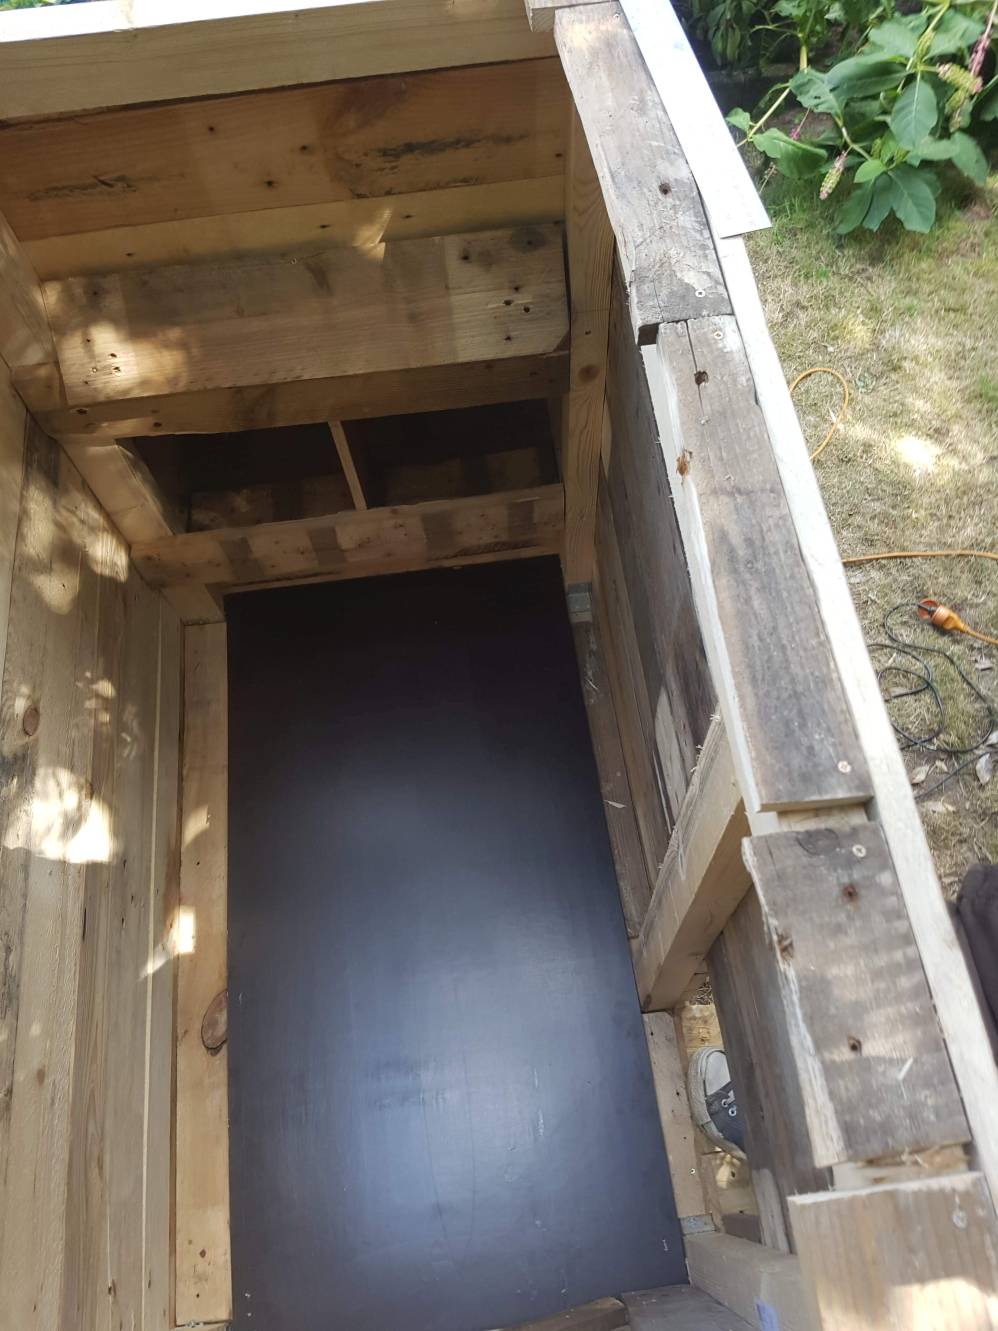
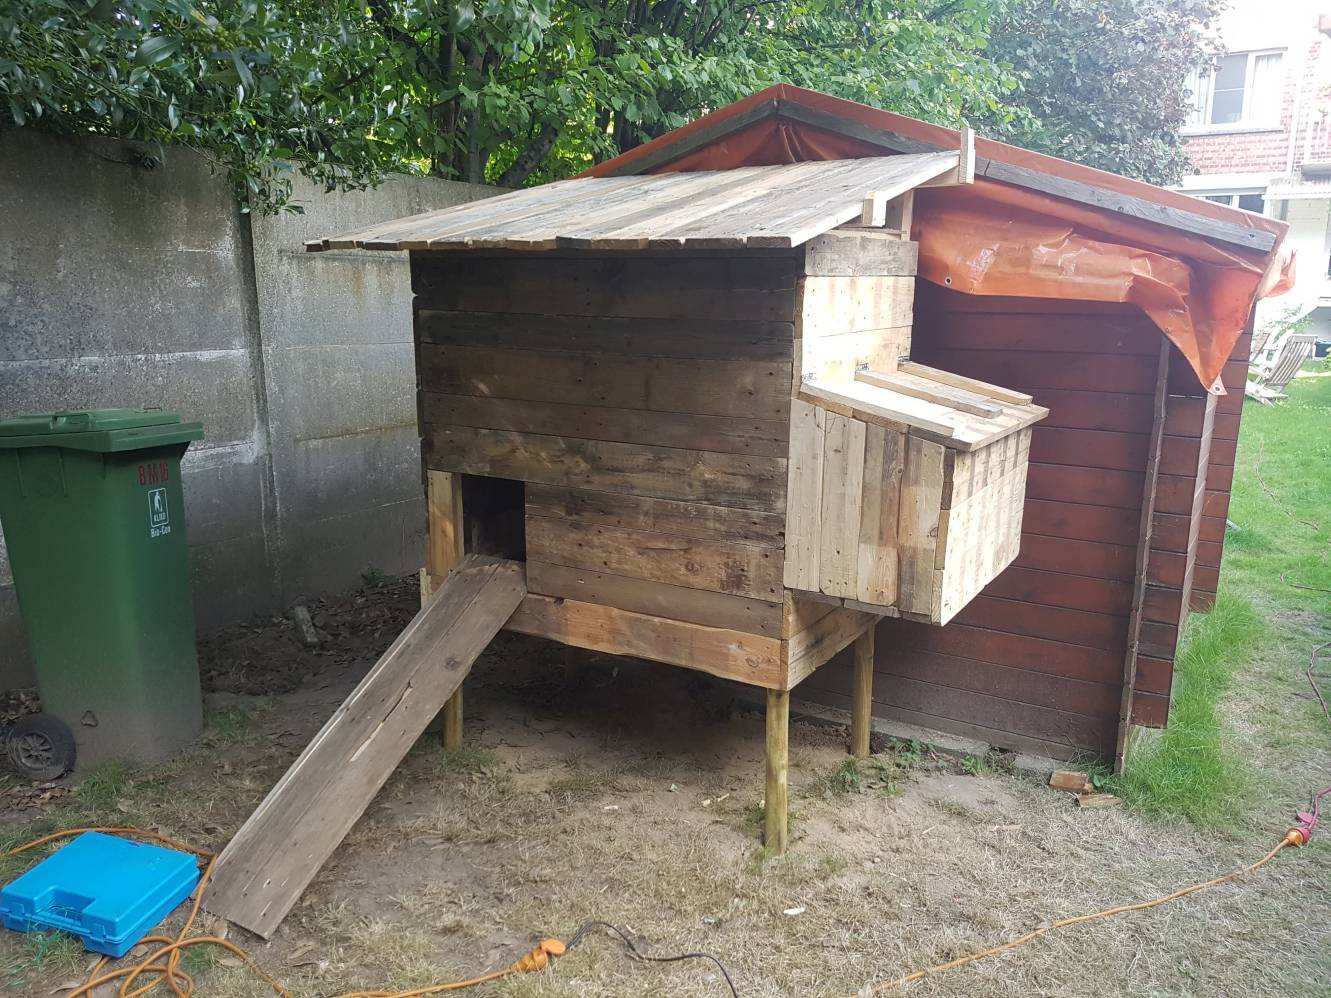
The coop should be easily cleanable, this means it should have a removable floor so we can easily take it out and scrub it off. And a removable side/wall would also be useful for easy access in case something needs to be done inside the coop.
Easy egg gathering§
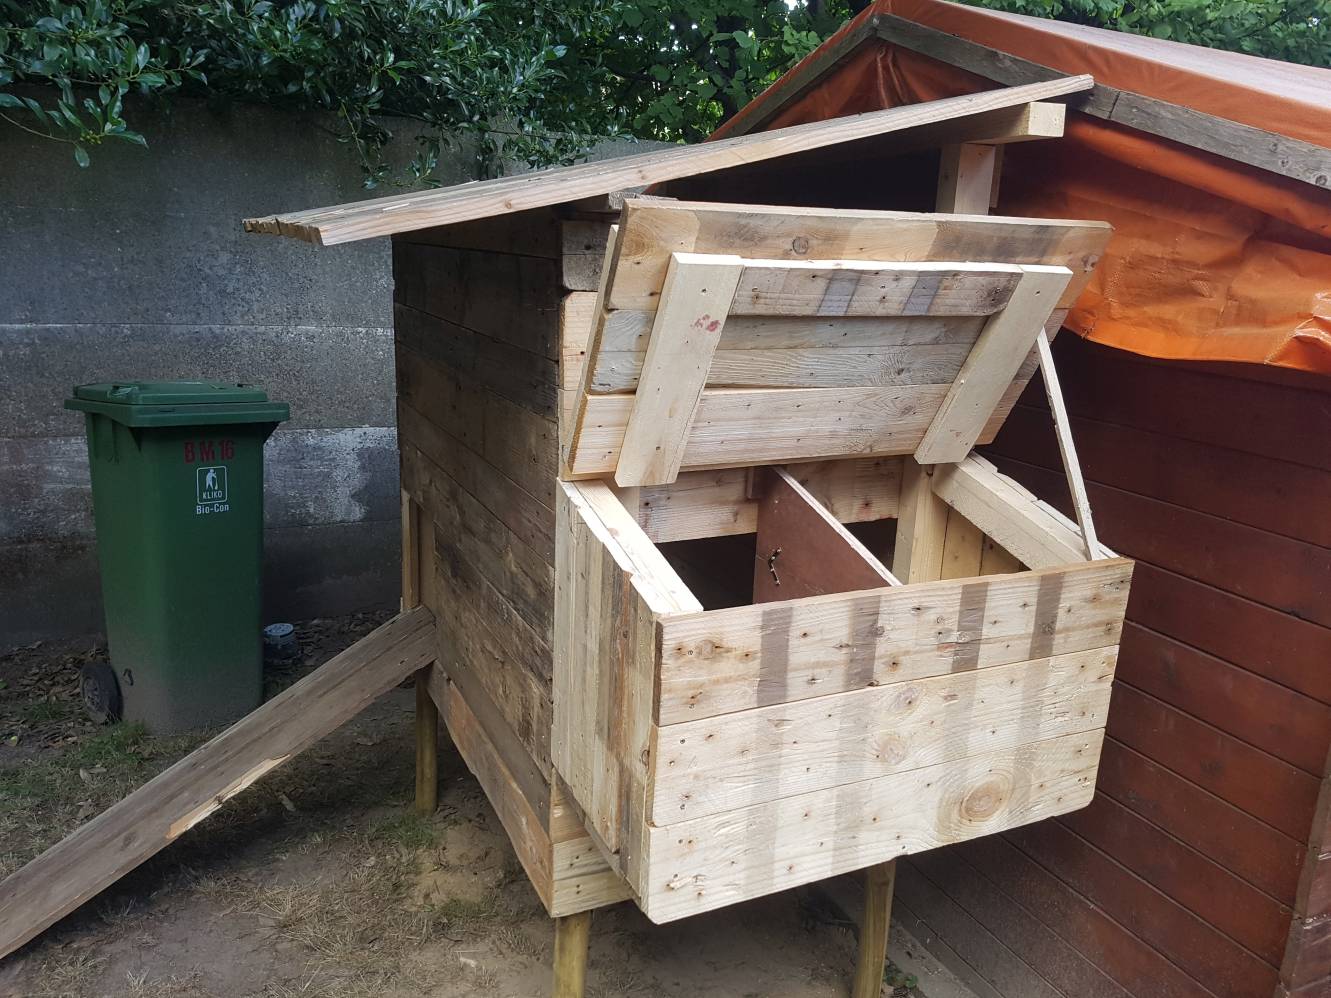
The chickens need a place to lay their eggs. This happens in nesting boxes. A smaller mini house inside or connected to the main coop.
The nesting boxes should also be easily accessible so the eggs can be gathered quickly.
I shouldn't have to crawl through the sie door just to get to the eggs.
So a lid on the top/side of the boxes should work perfectly.
High and dry§
The coop should be a bit above ground so in case it rains the coop and the chickens will still be dry. This will also help protect the coop from mold and rotting because there's more airflow on the bottom.
Planning before building§
So with these sizes in mind I started drawing in SketchUp to get an idea of how the coop would look. This would also give me an estimate of how many pallets I would need and the other materials like the poles on which it will stand and the inner skeleton of the coop.
(Click on the image below to see the 3D model)
I didn't draw out every detail, for example there are no hinges and the nesting box' lid is just some planks which aren't connected in any way. Some things I left up to improvise while building the thing.
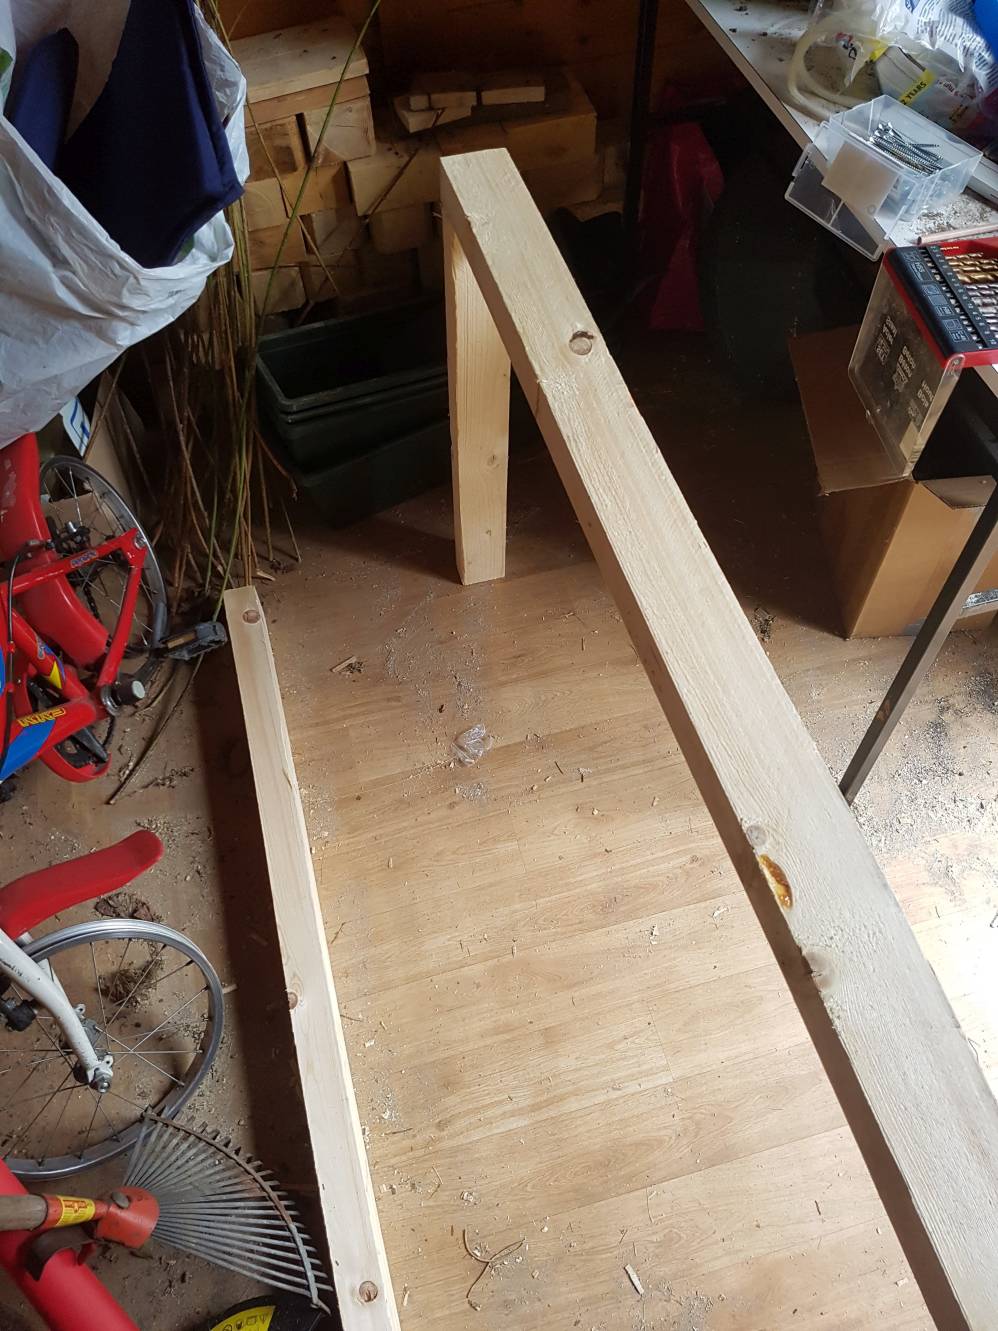
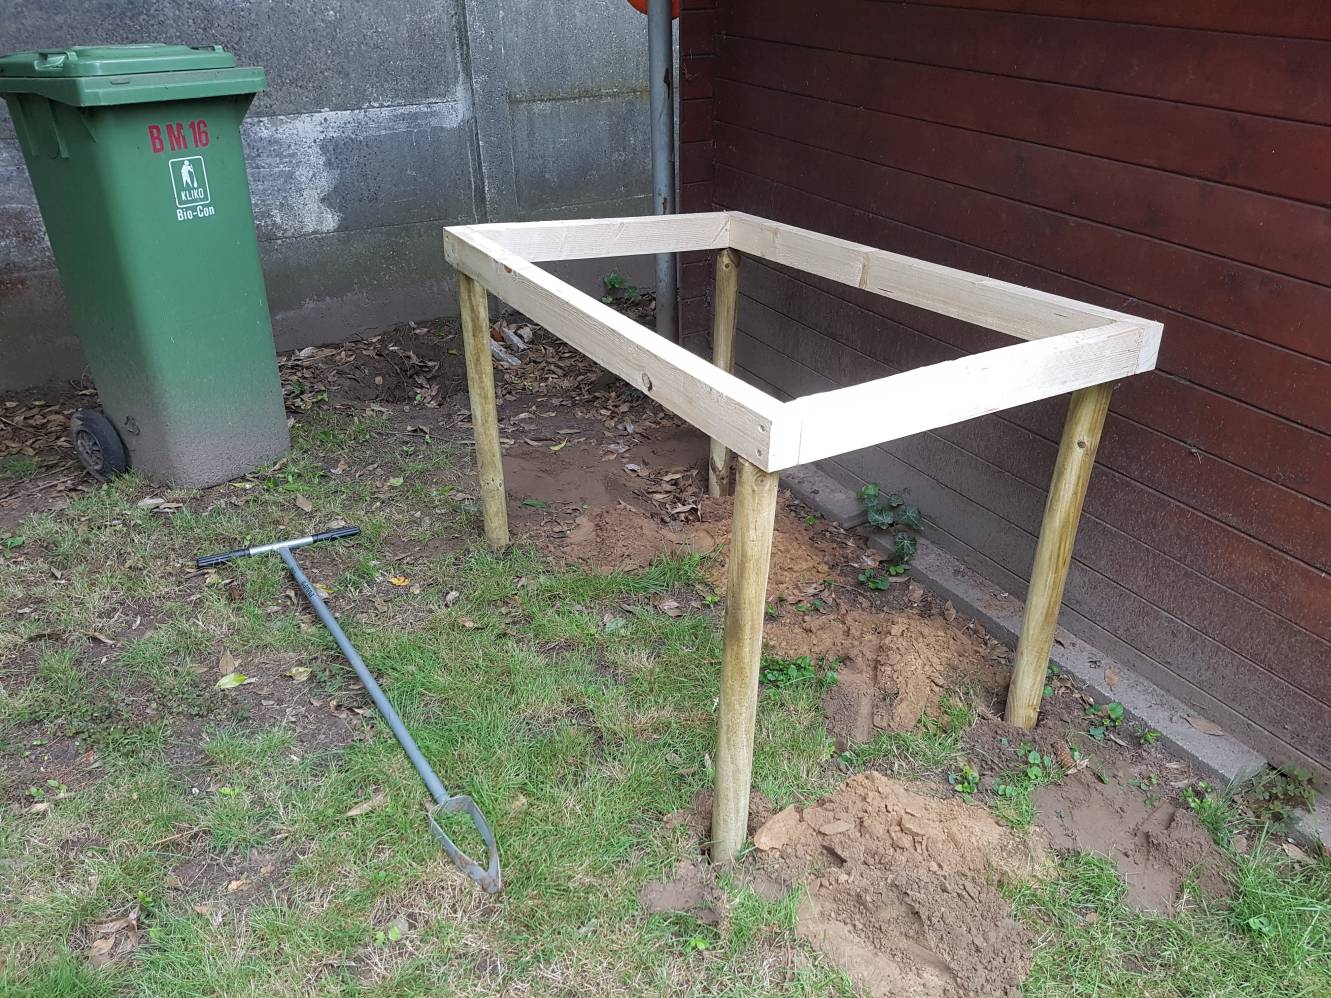
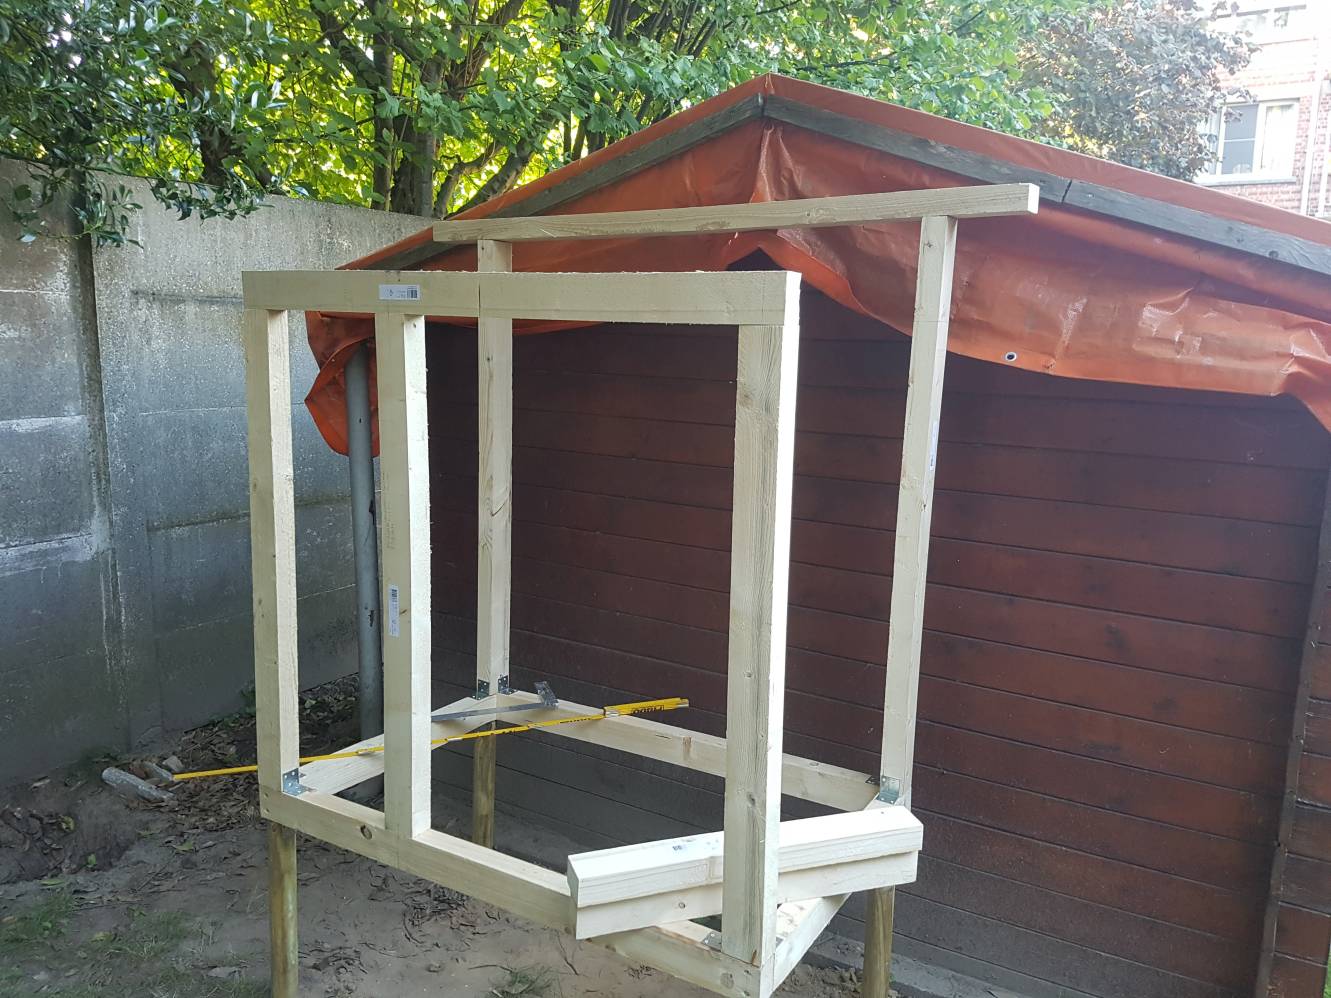
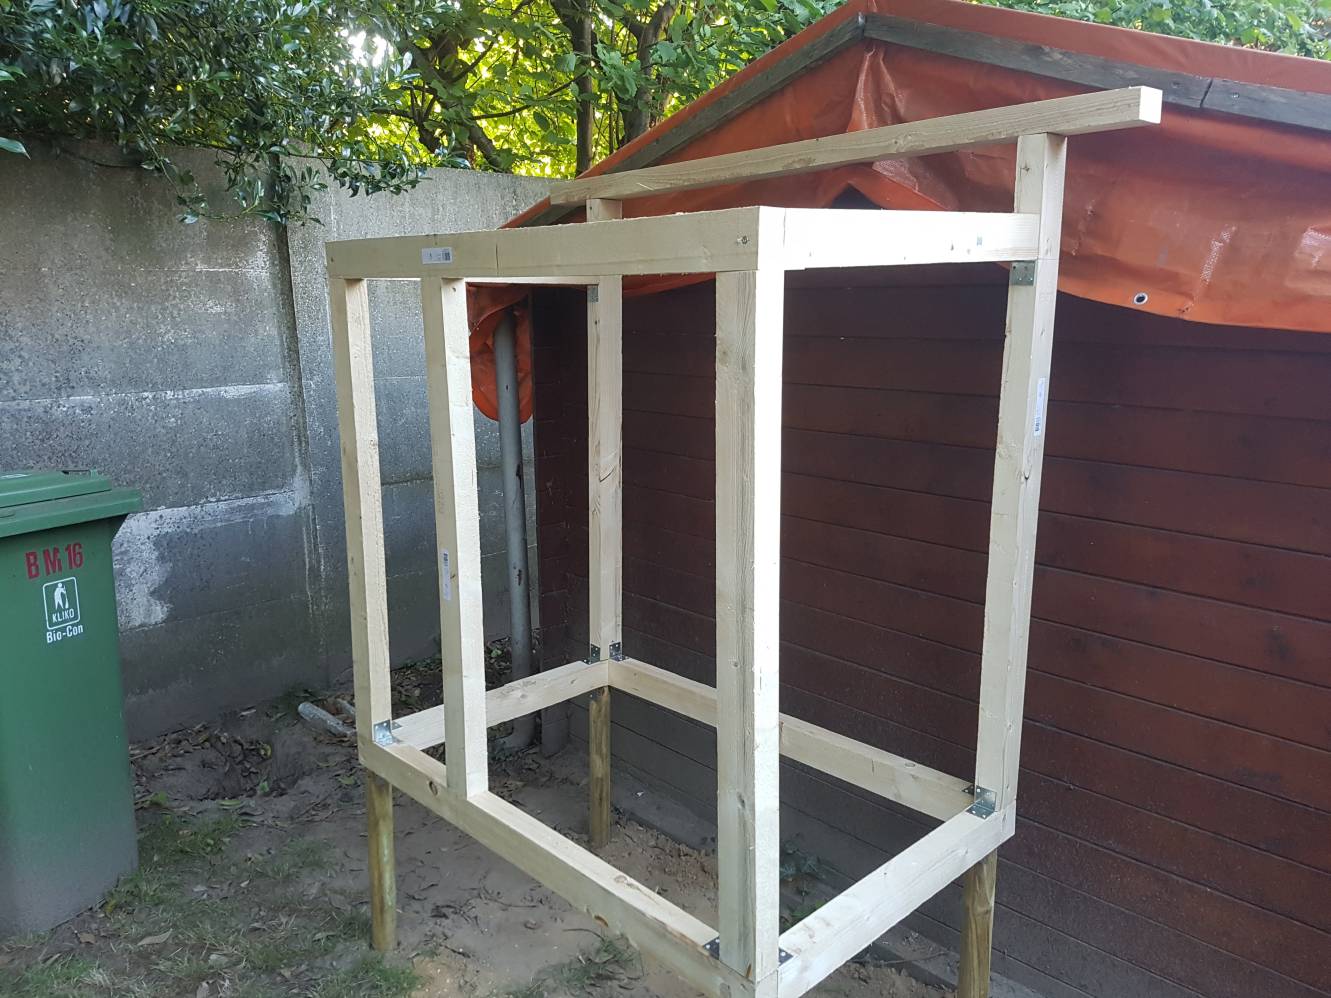
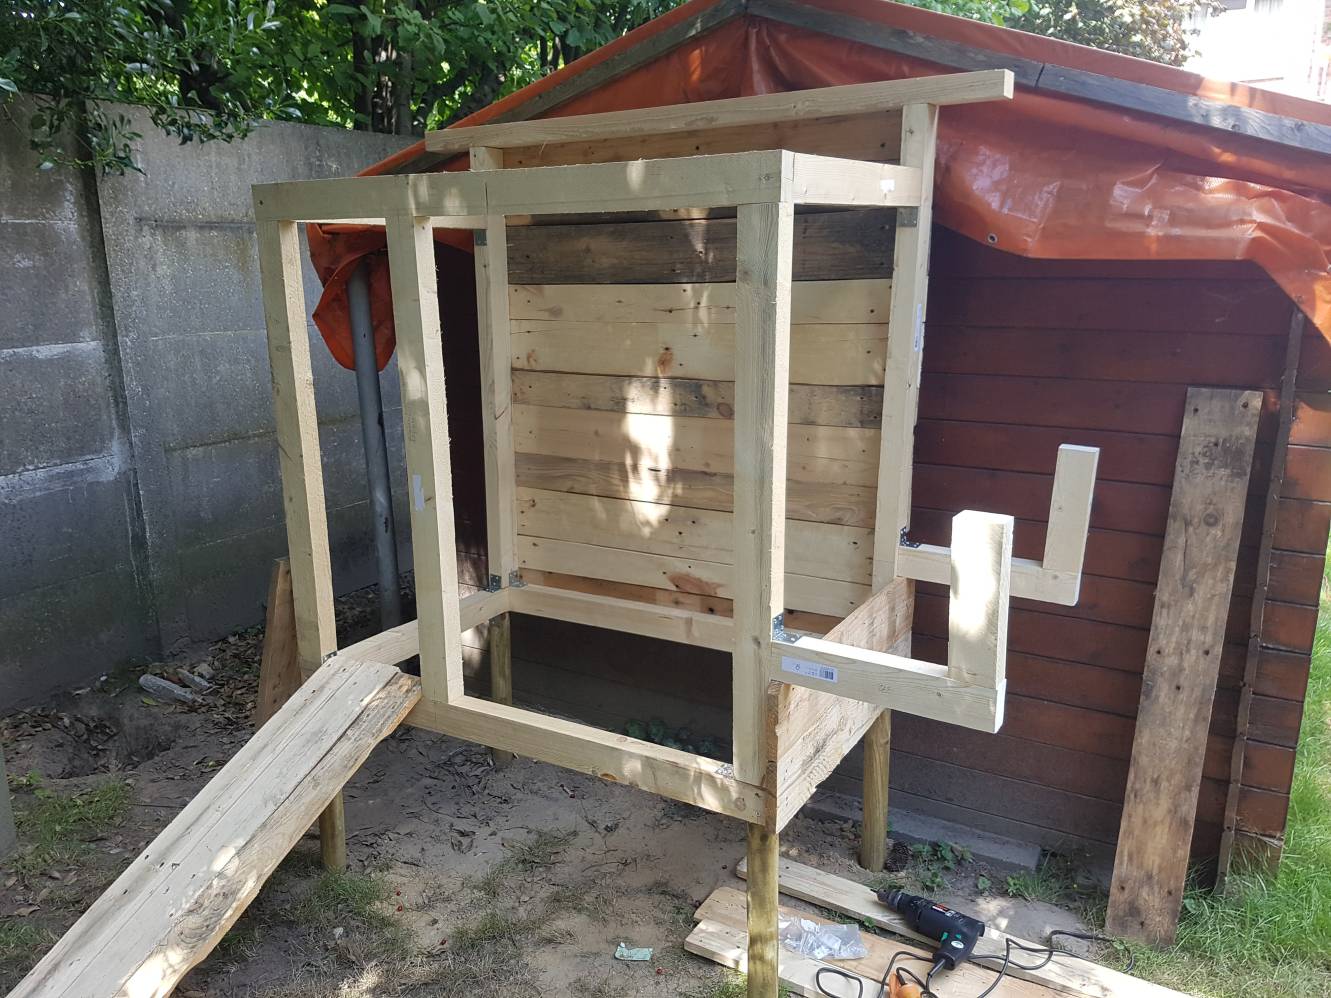
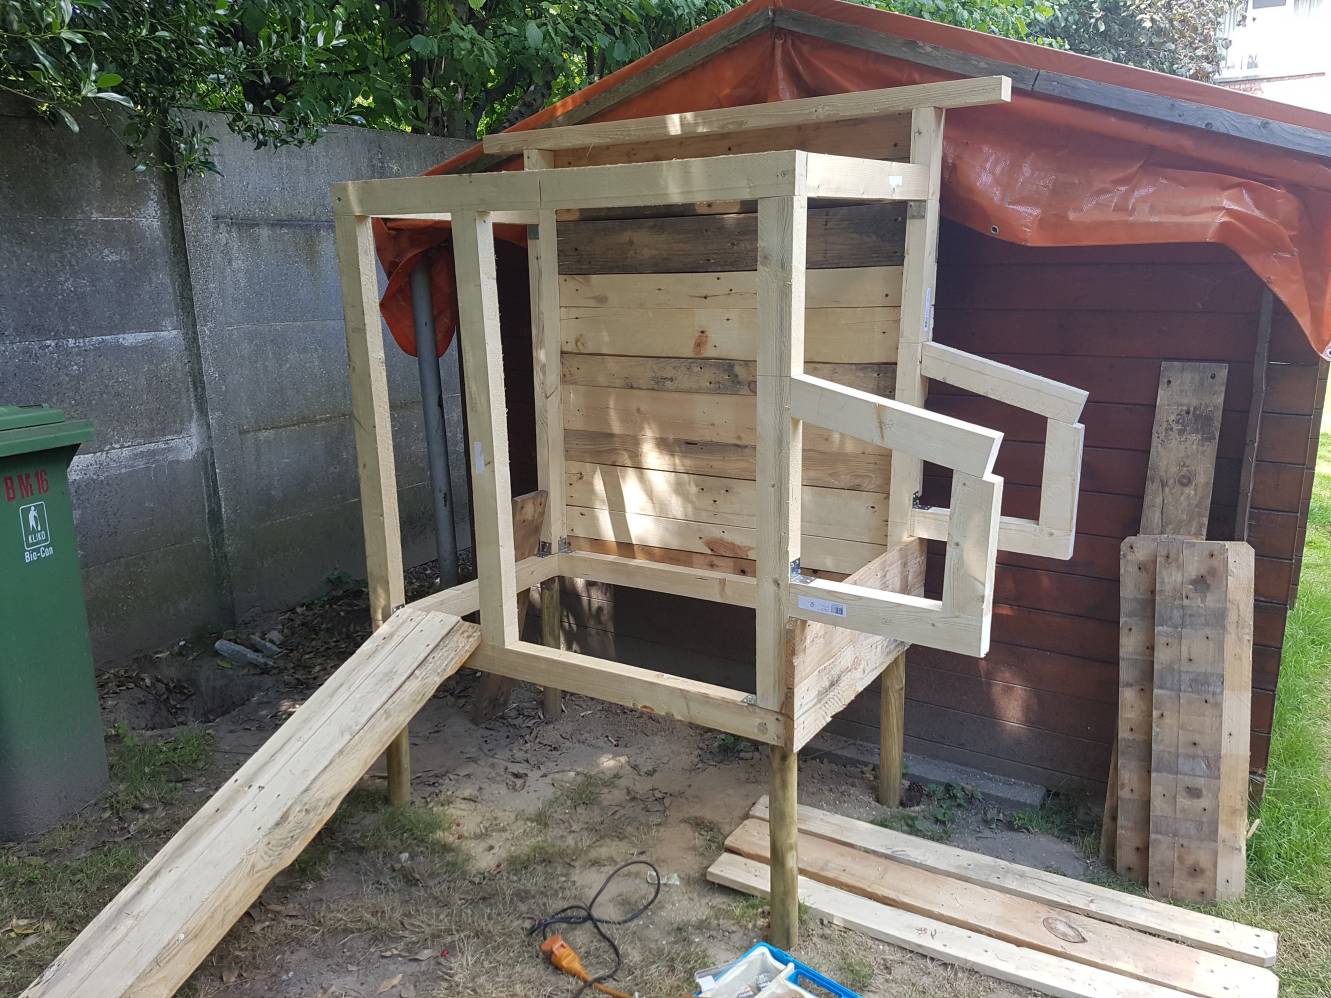
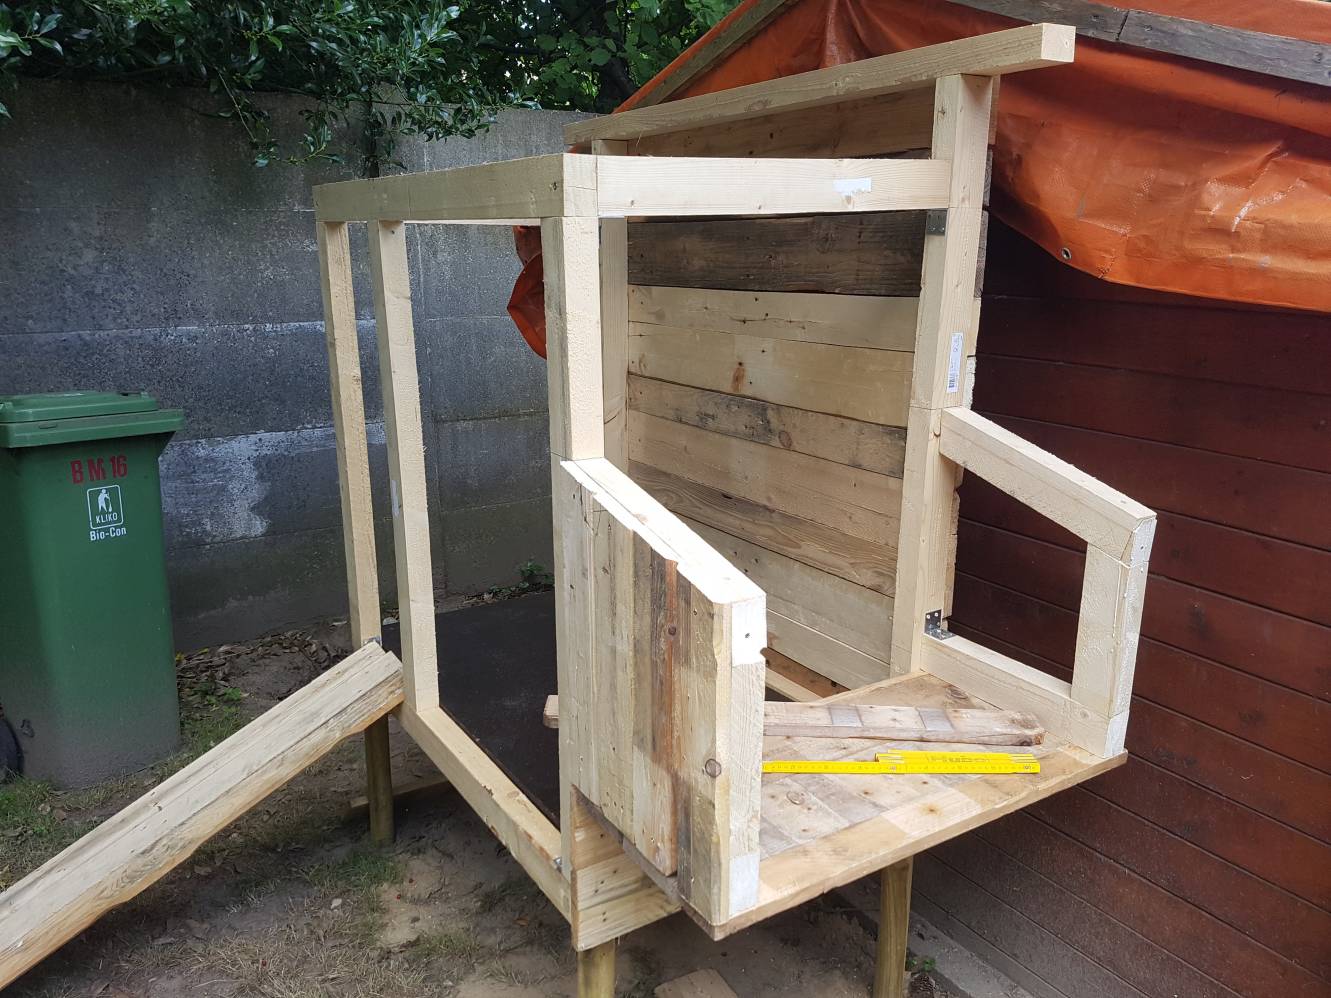
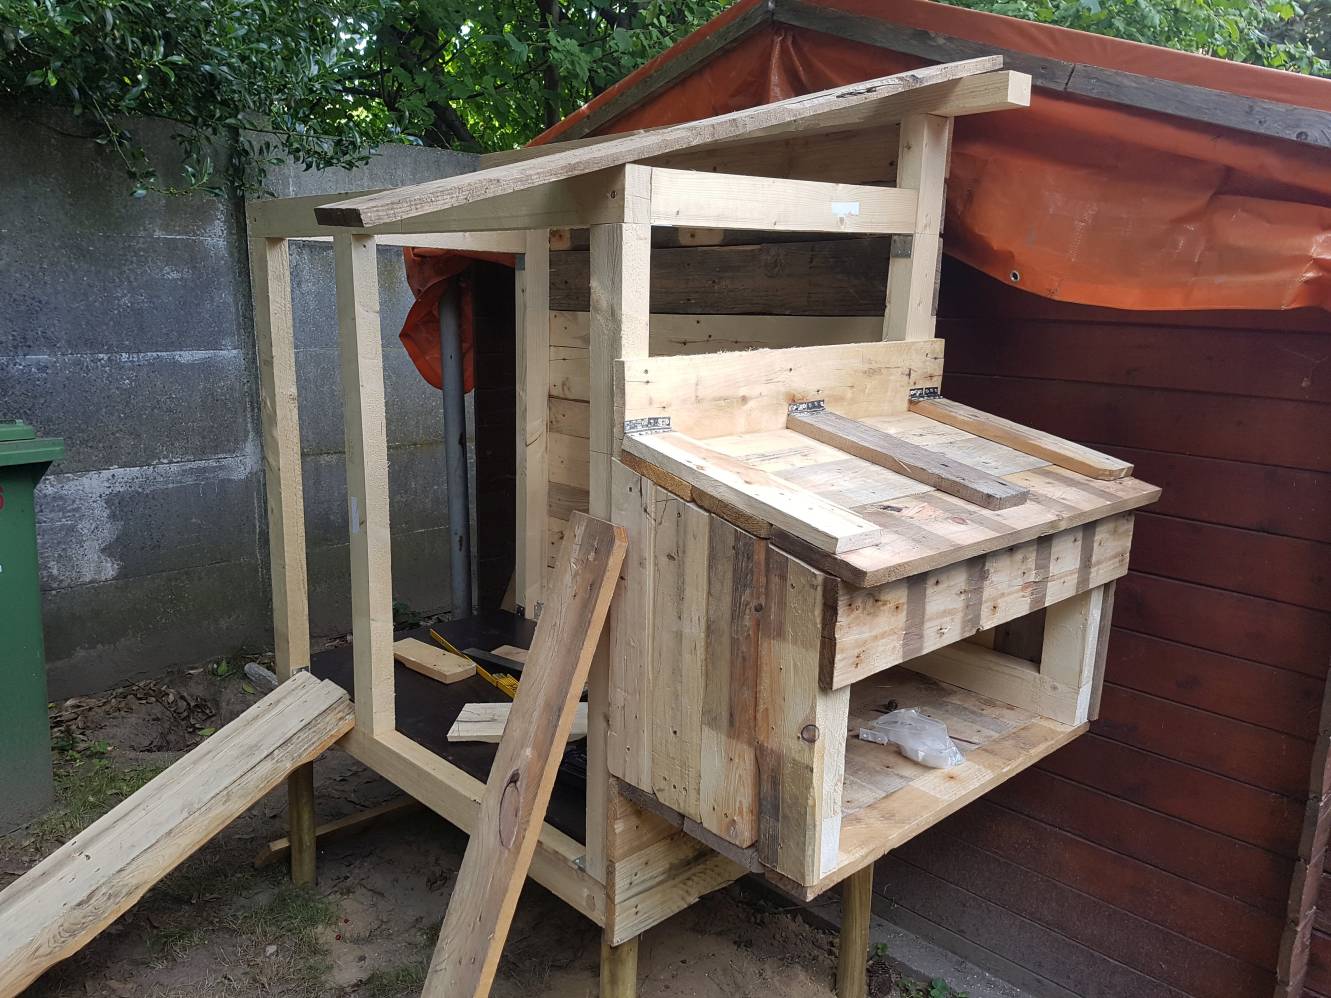
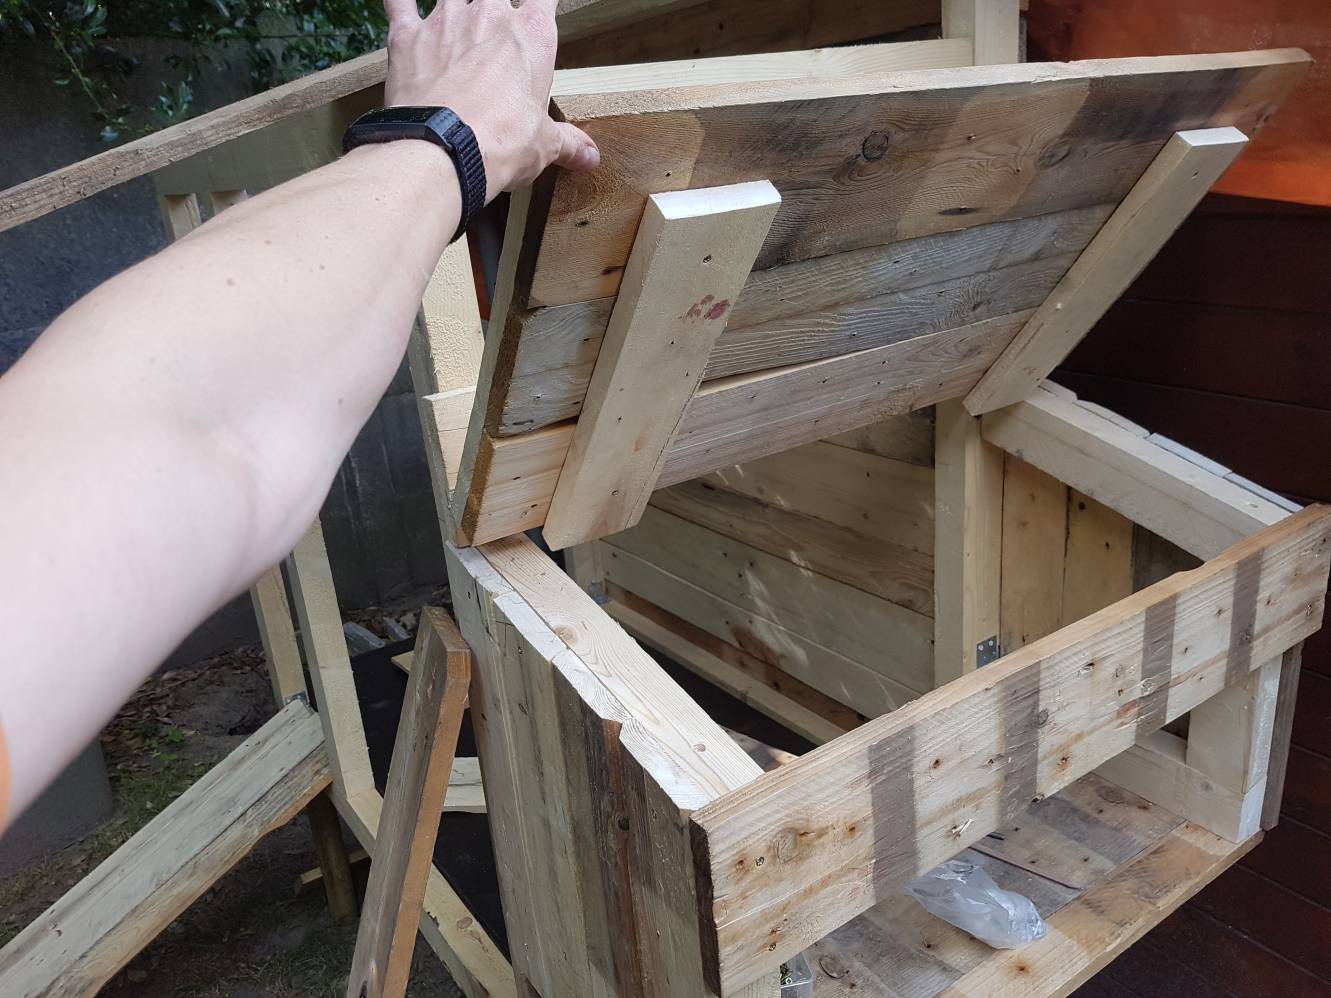
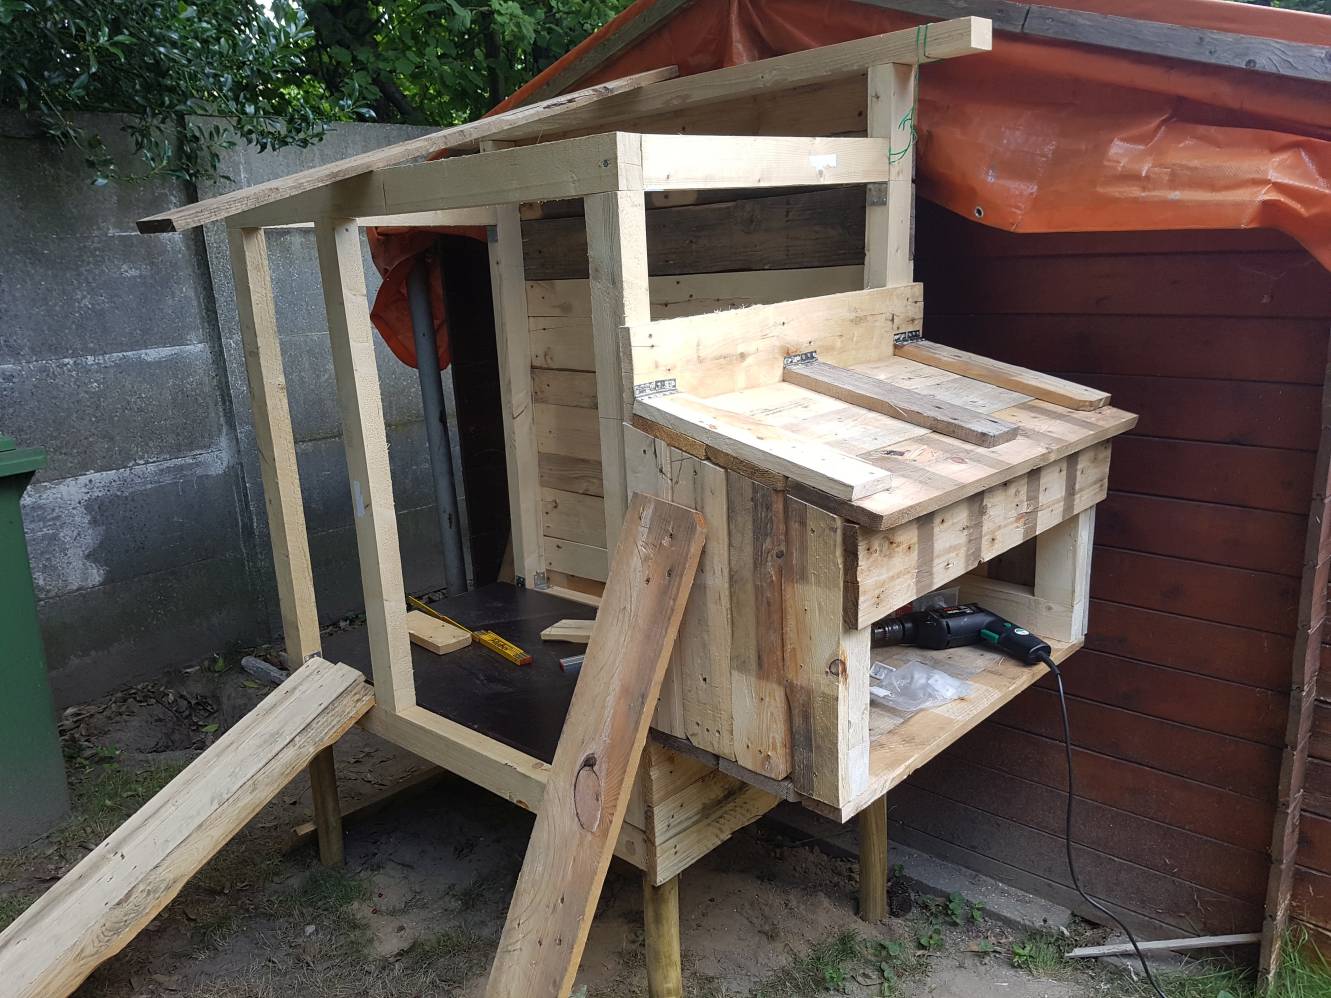
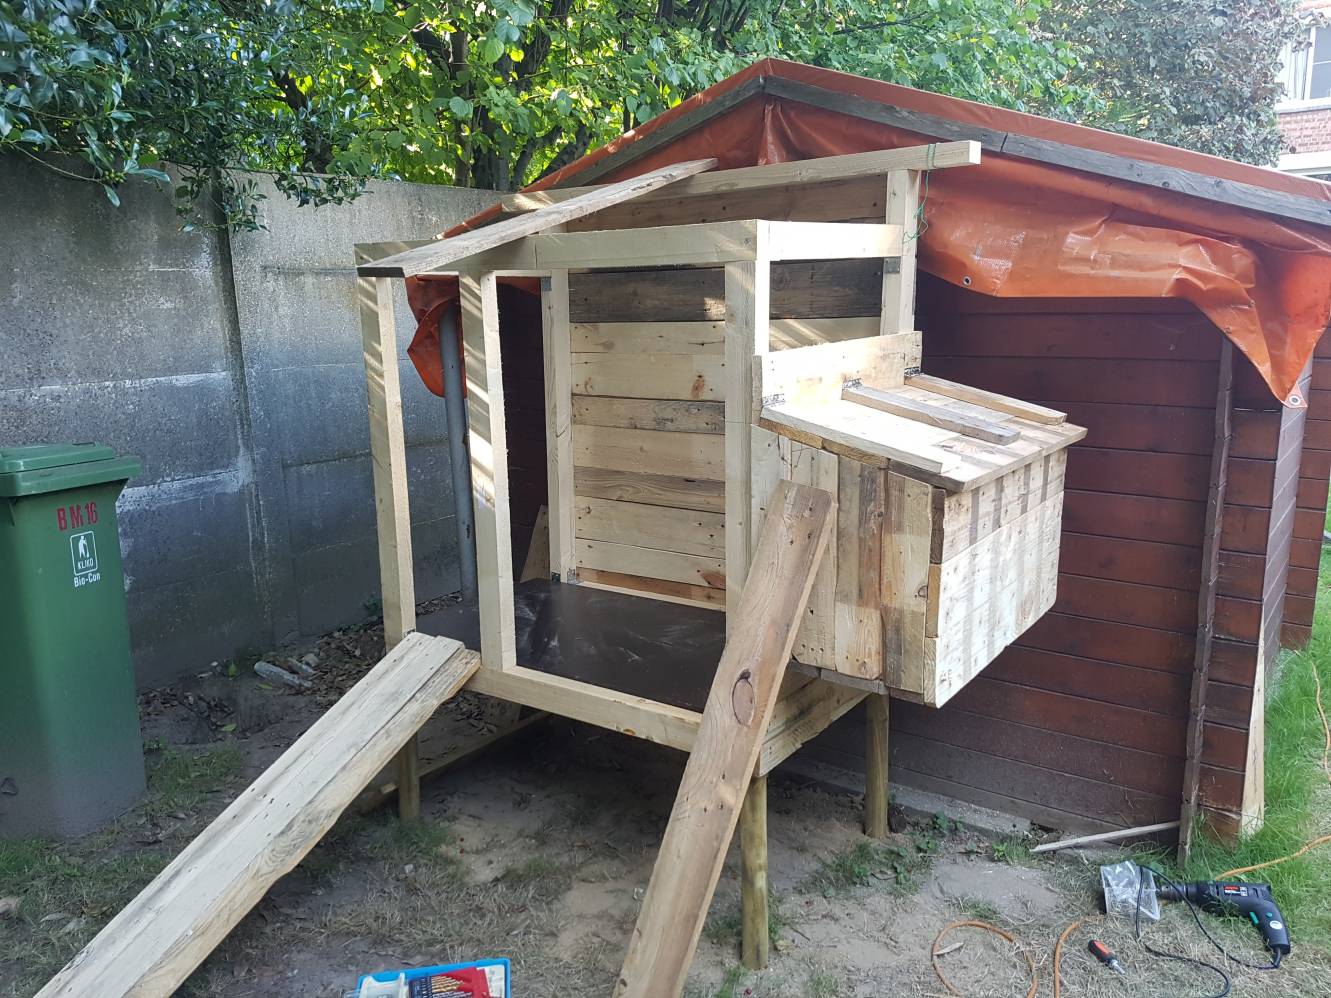
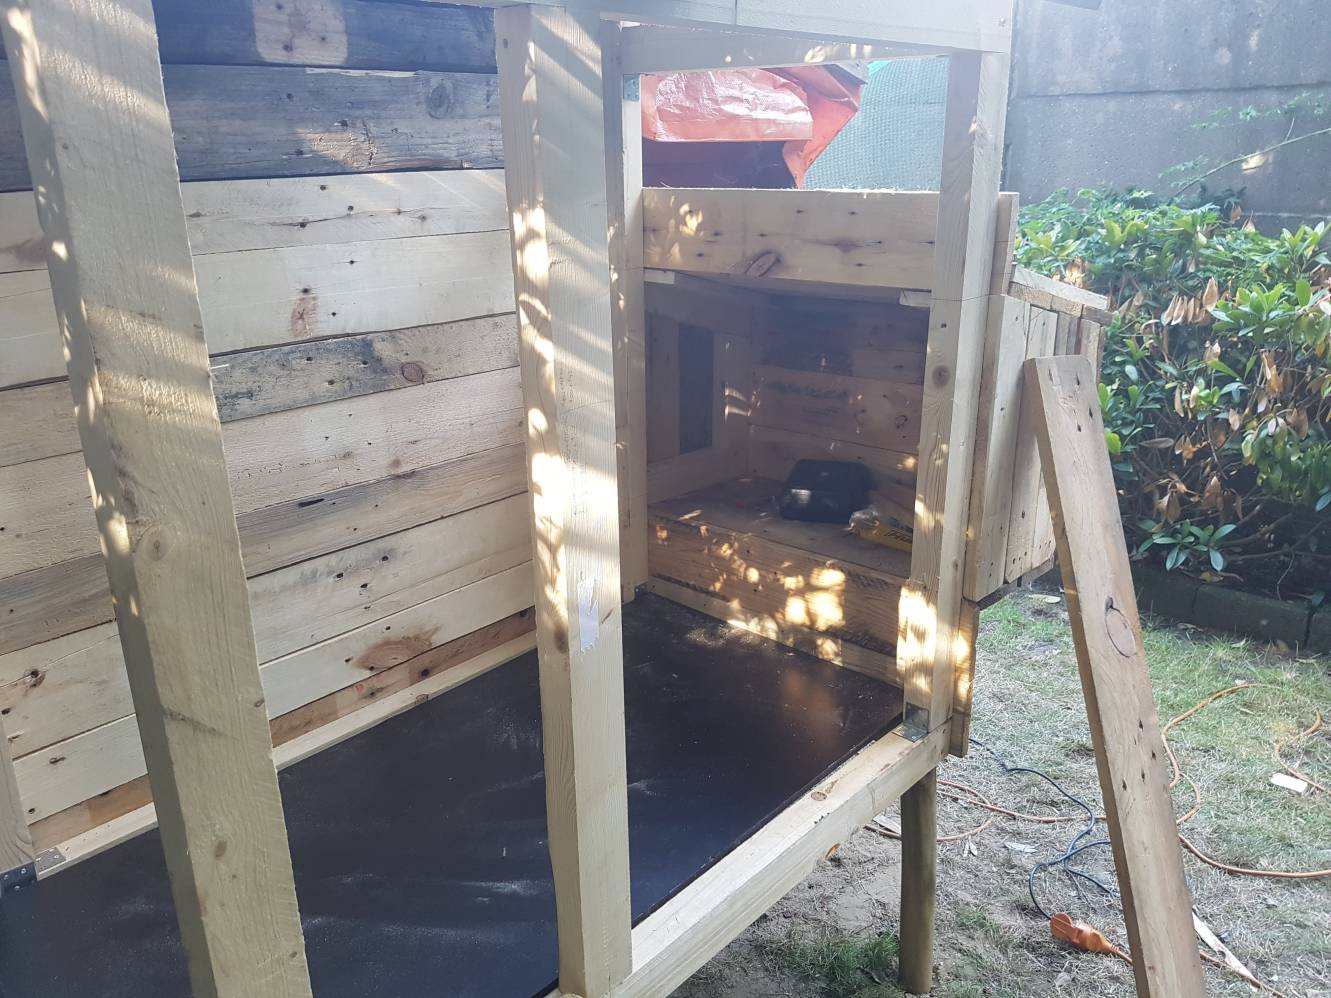
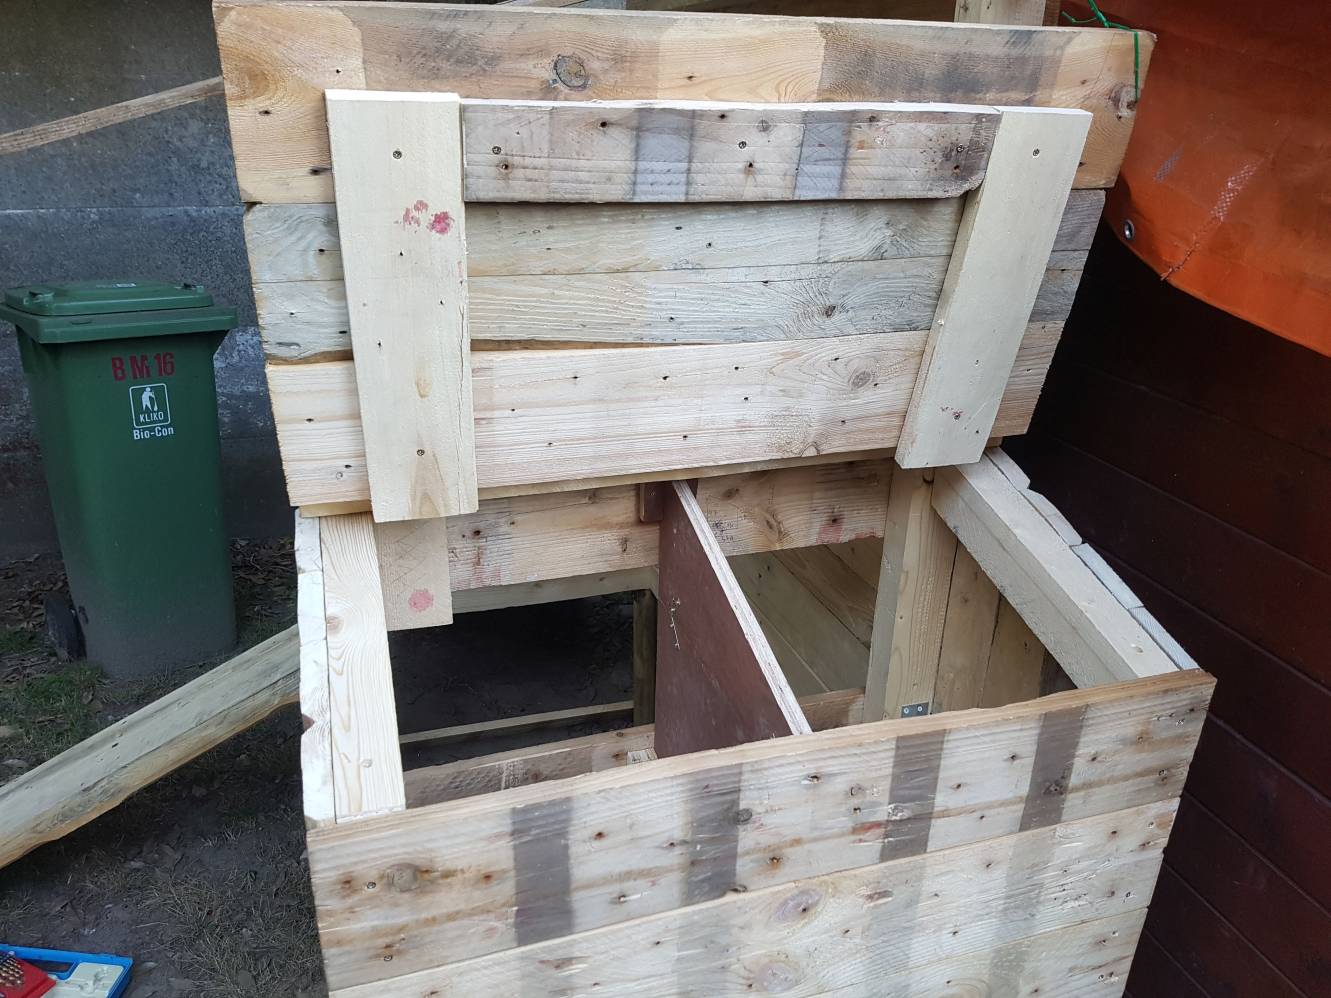
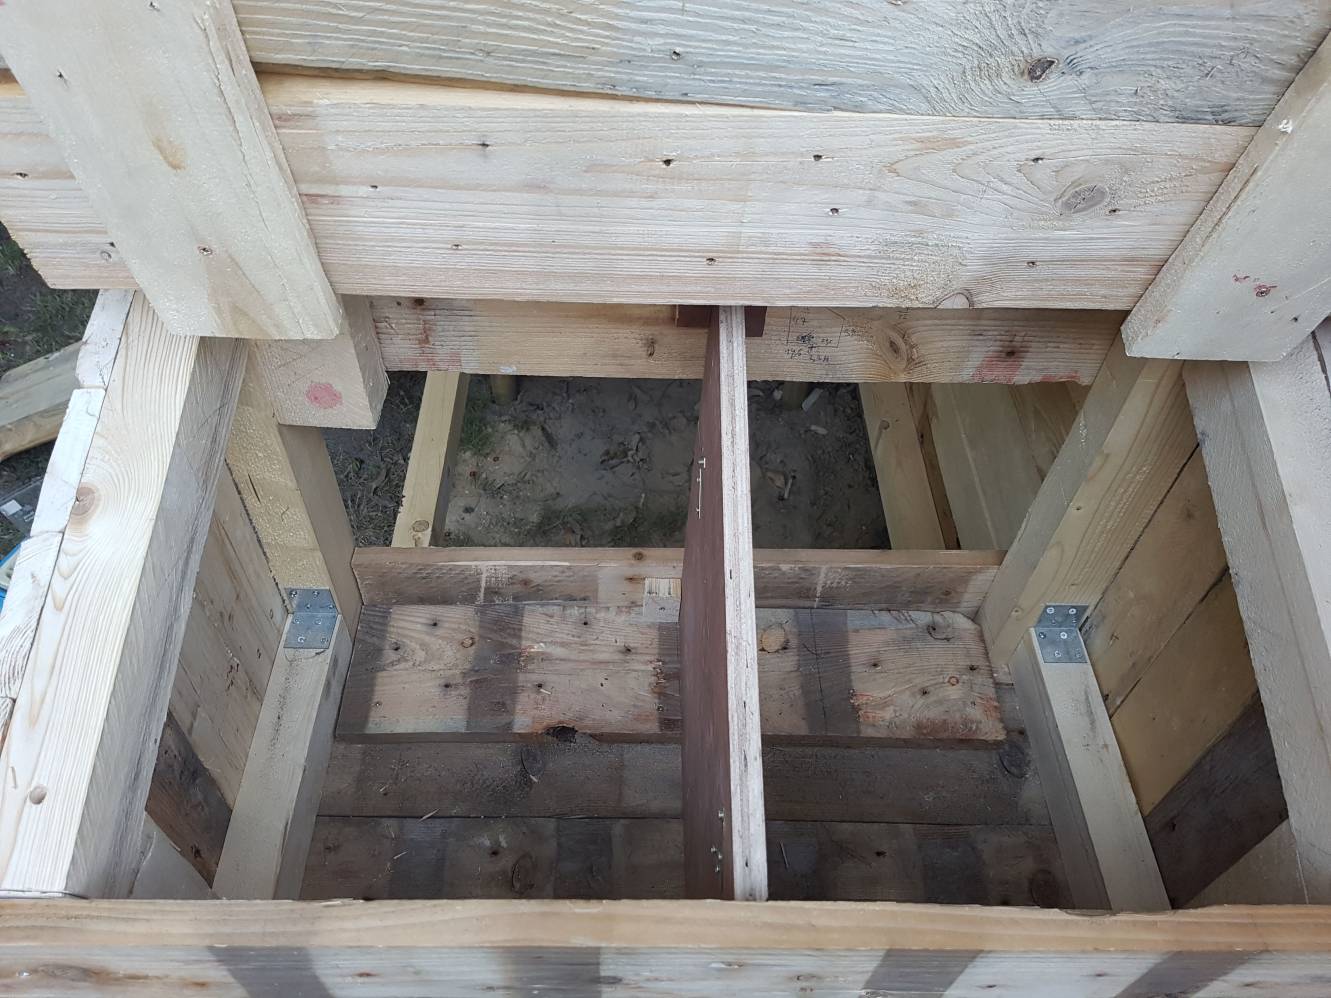
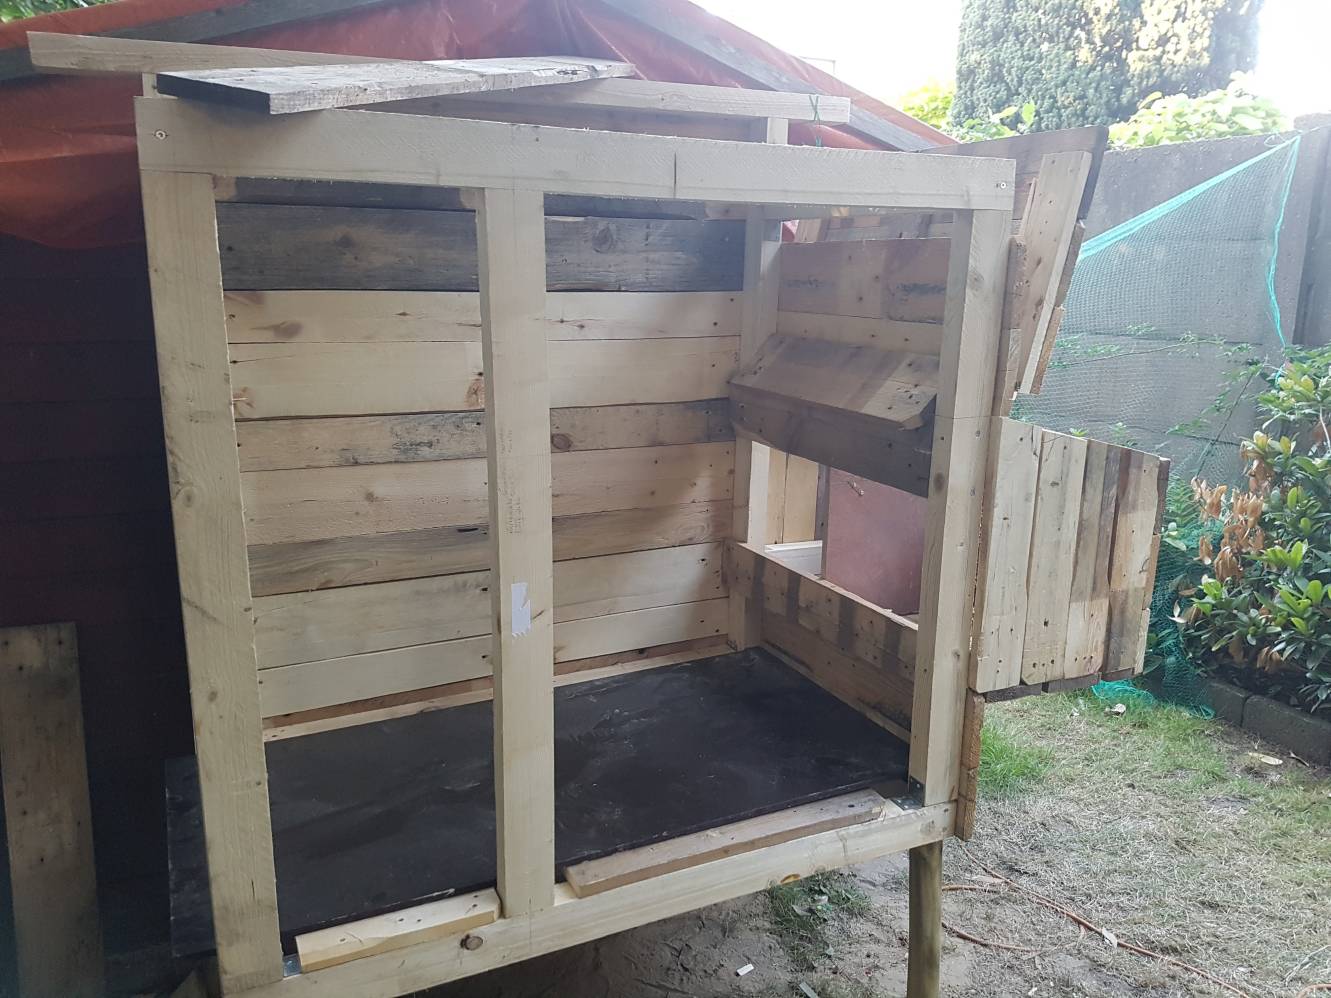
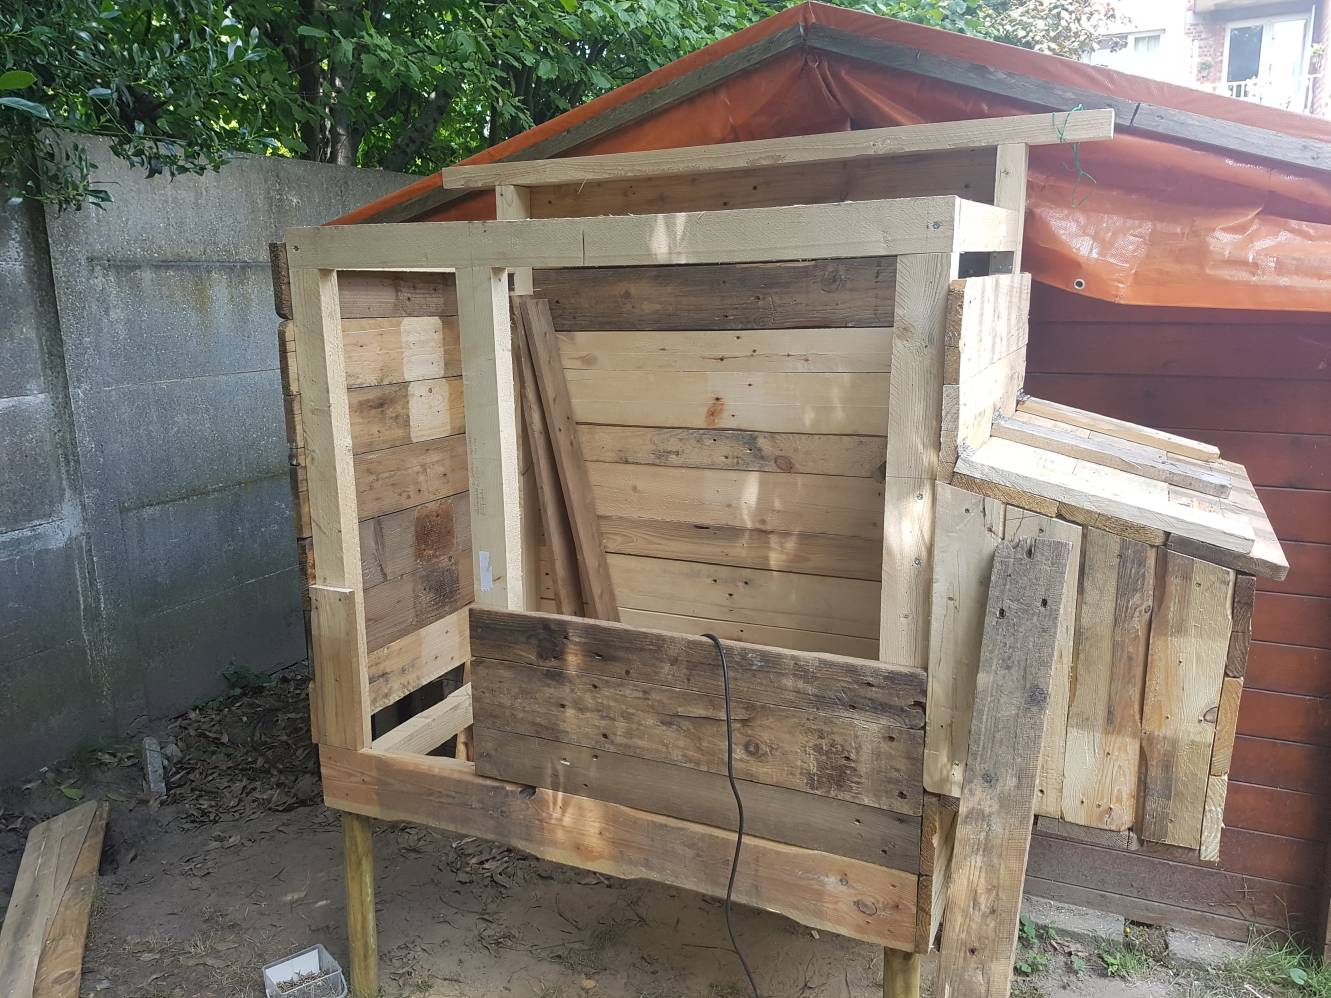
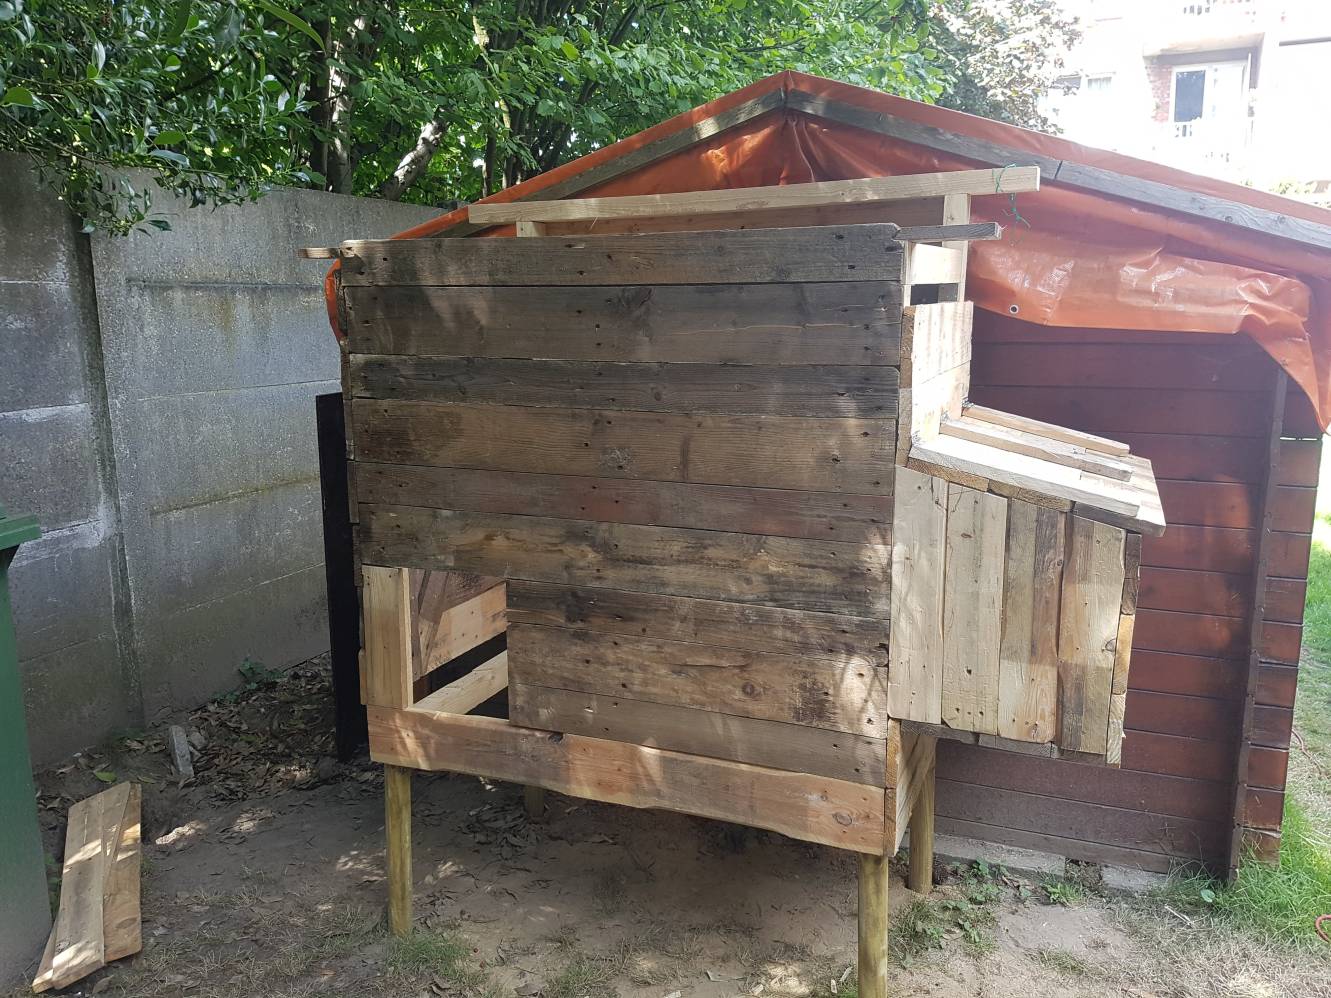
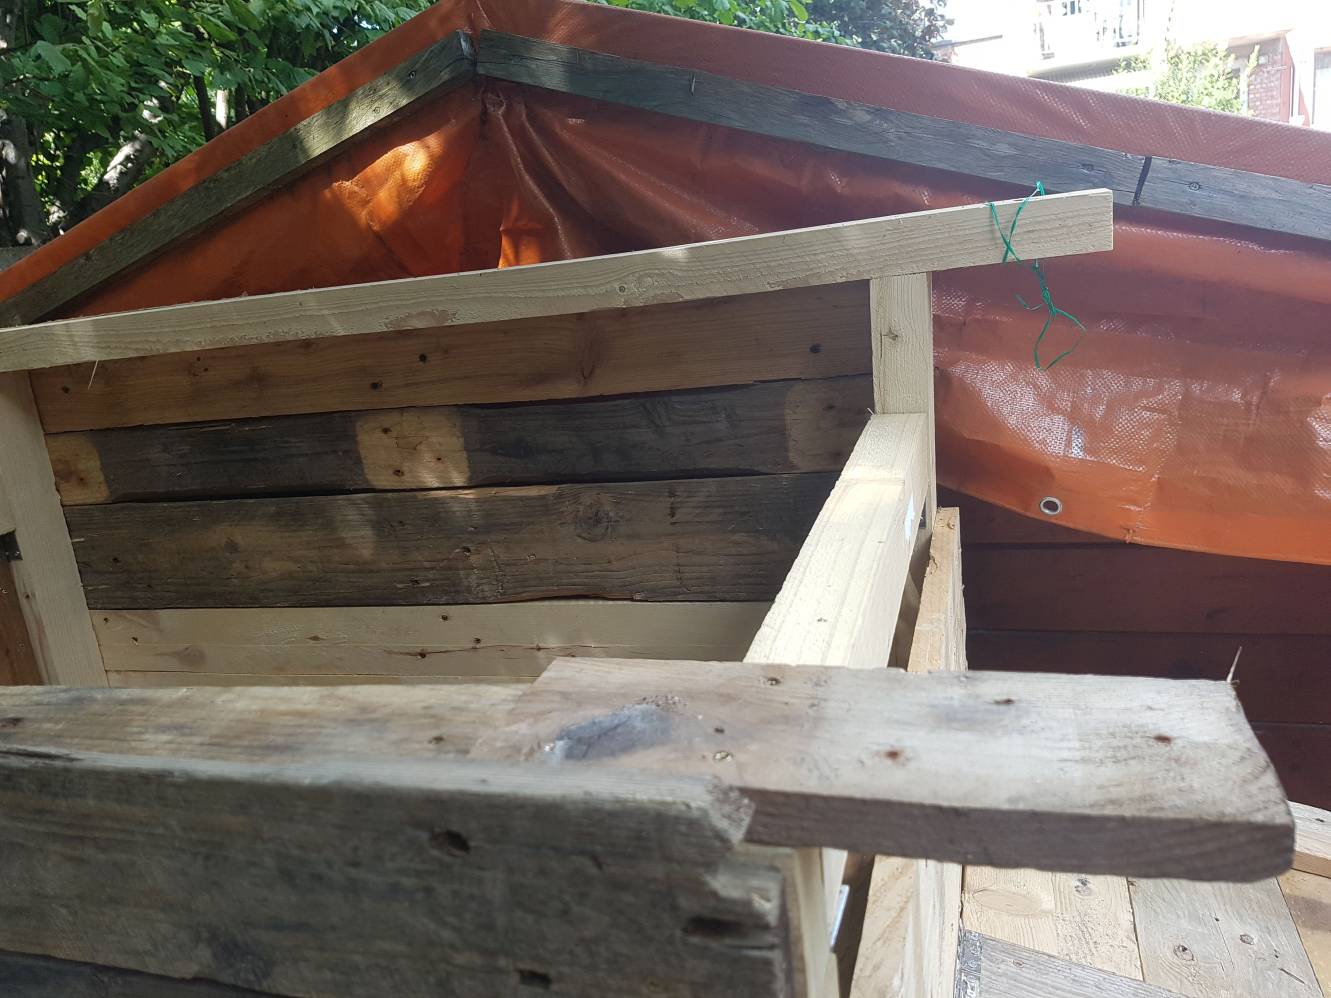
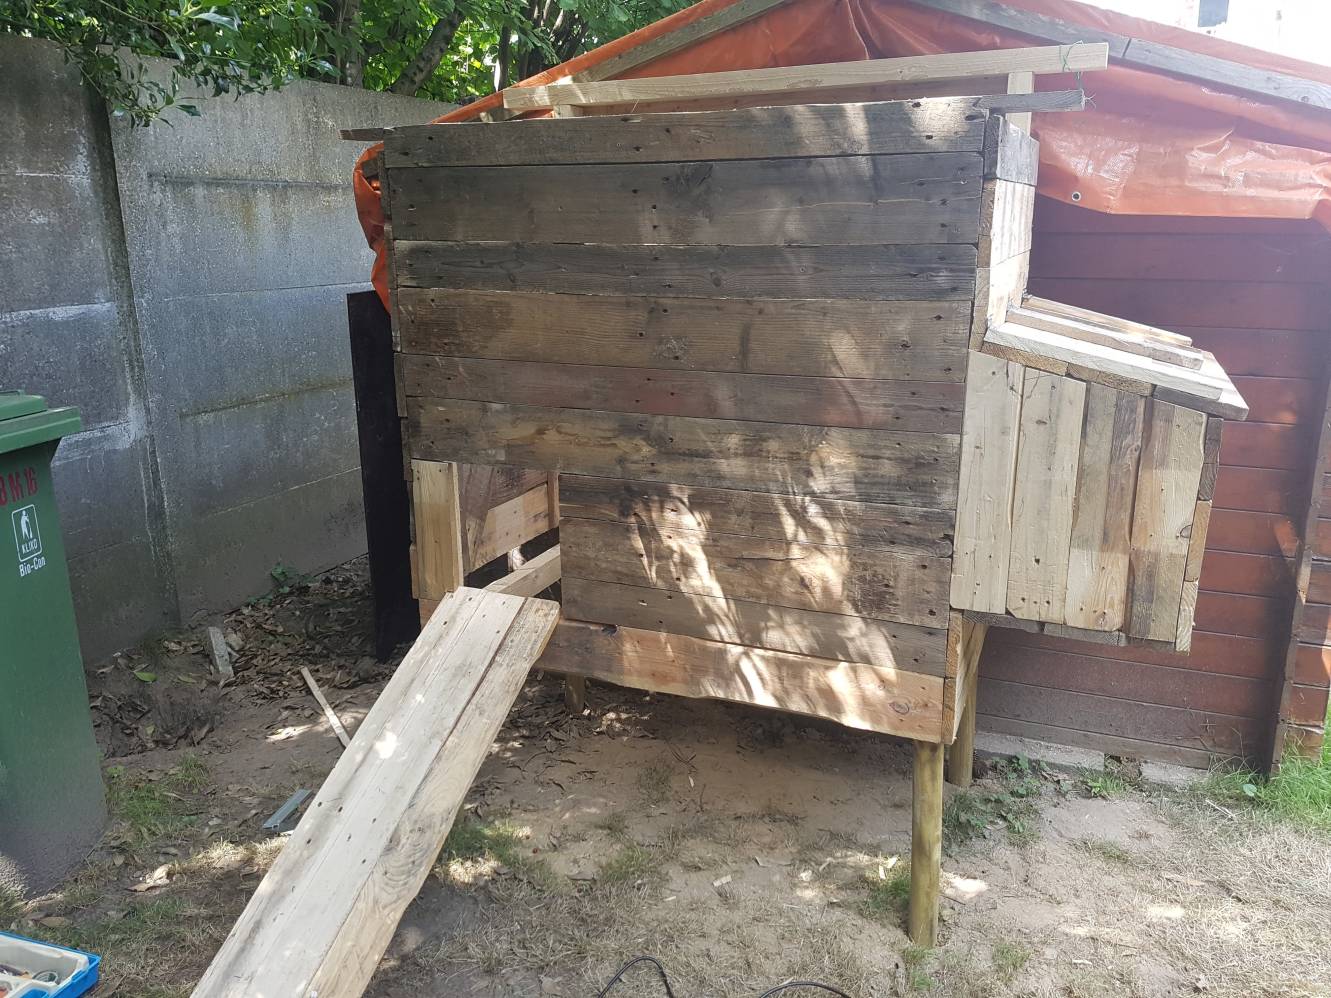
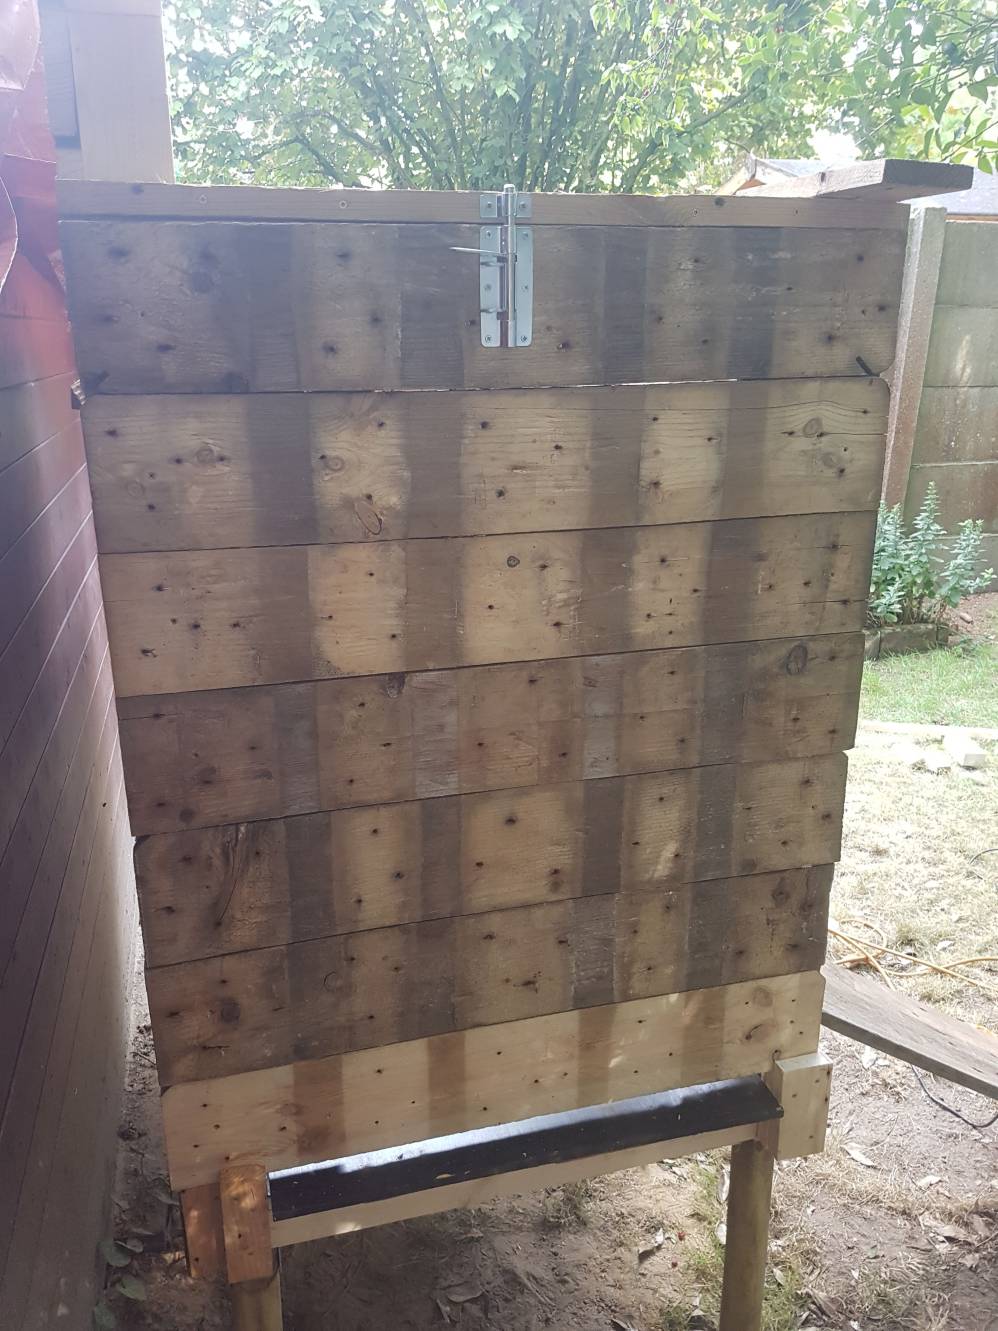
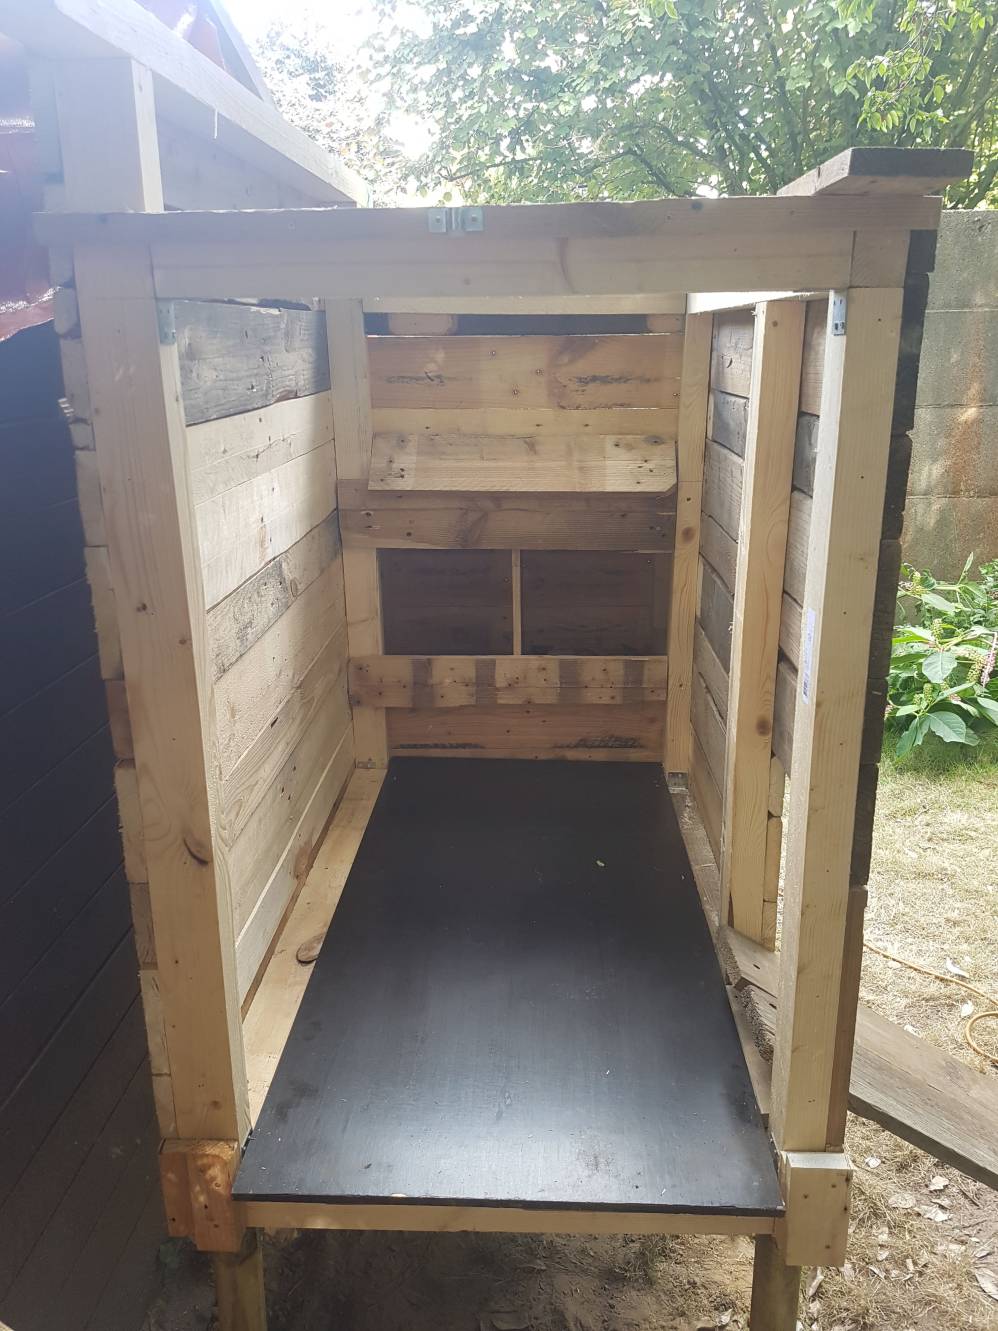
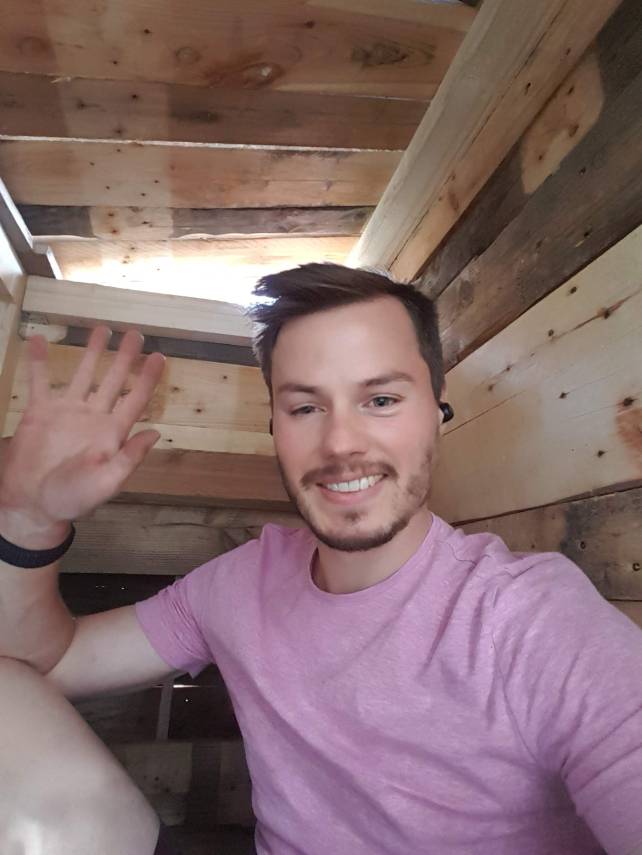
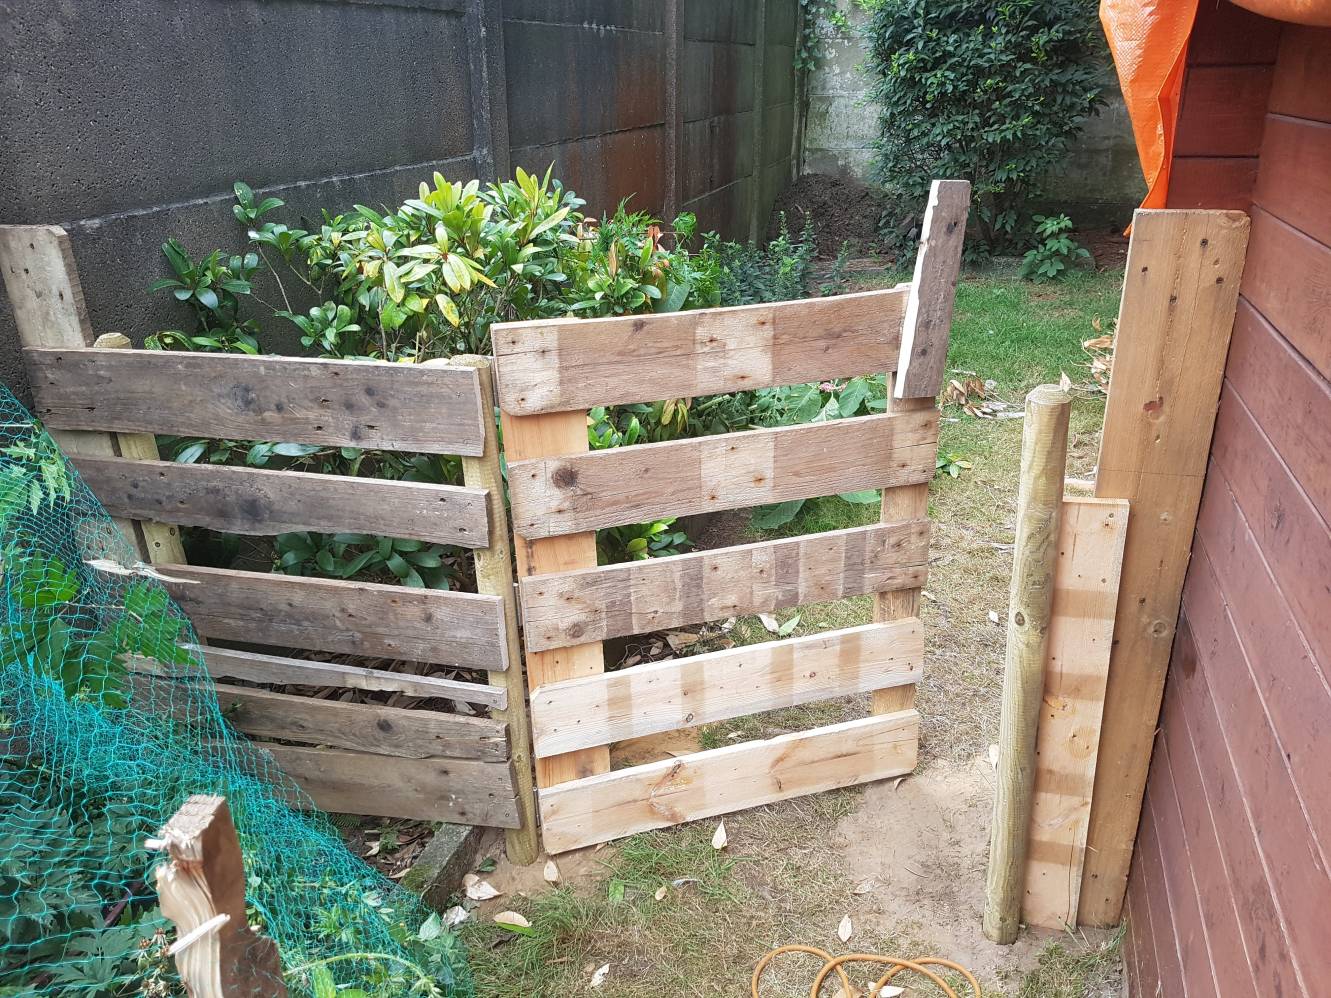
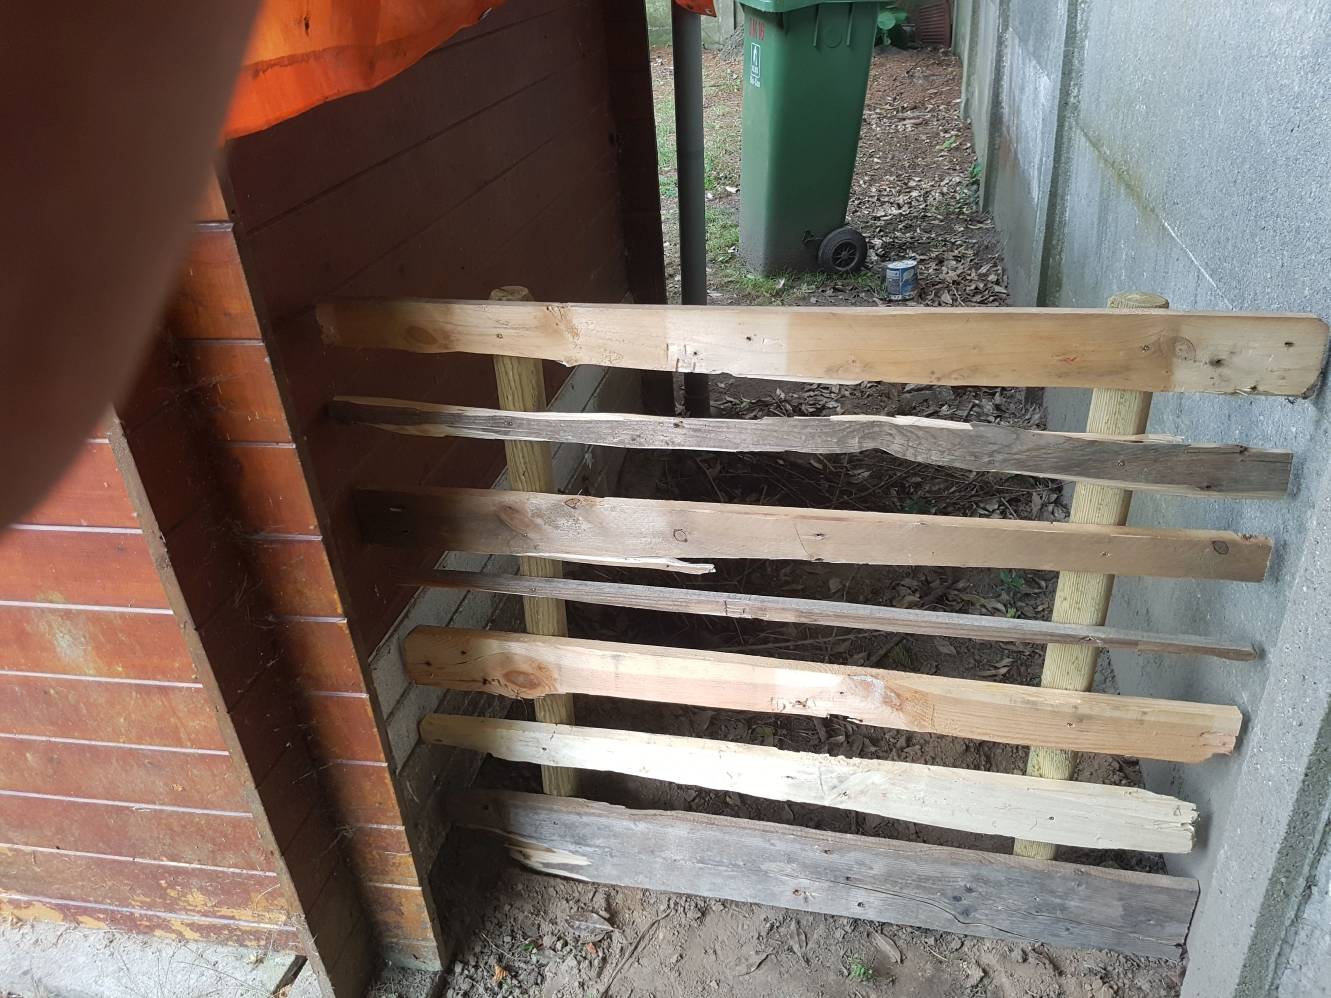
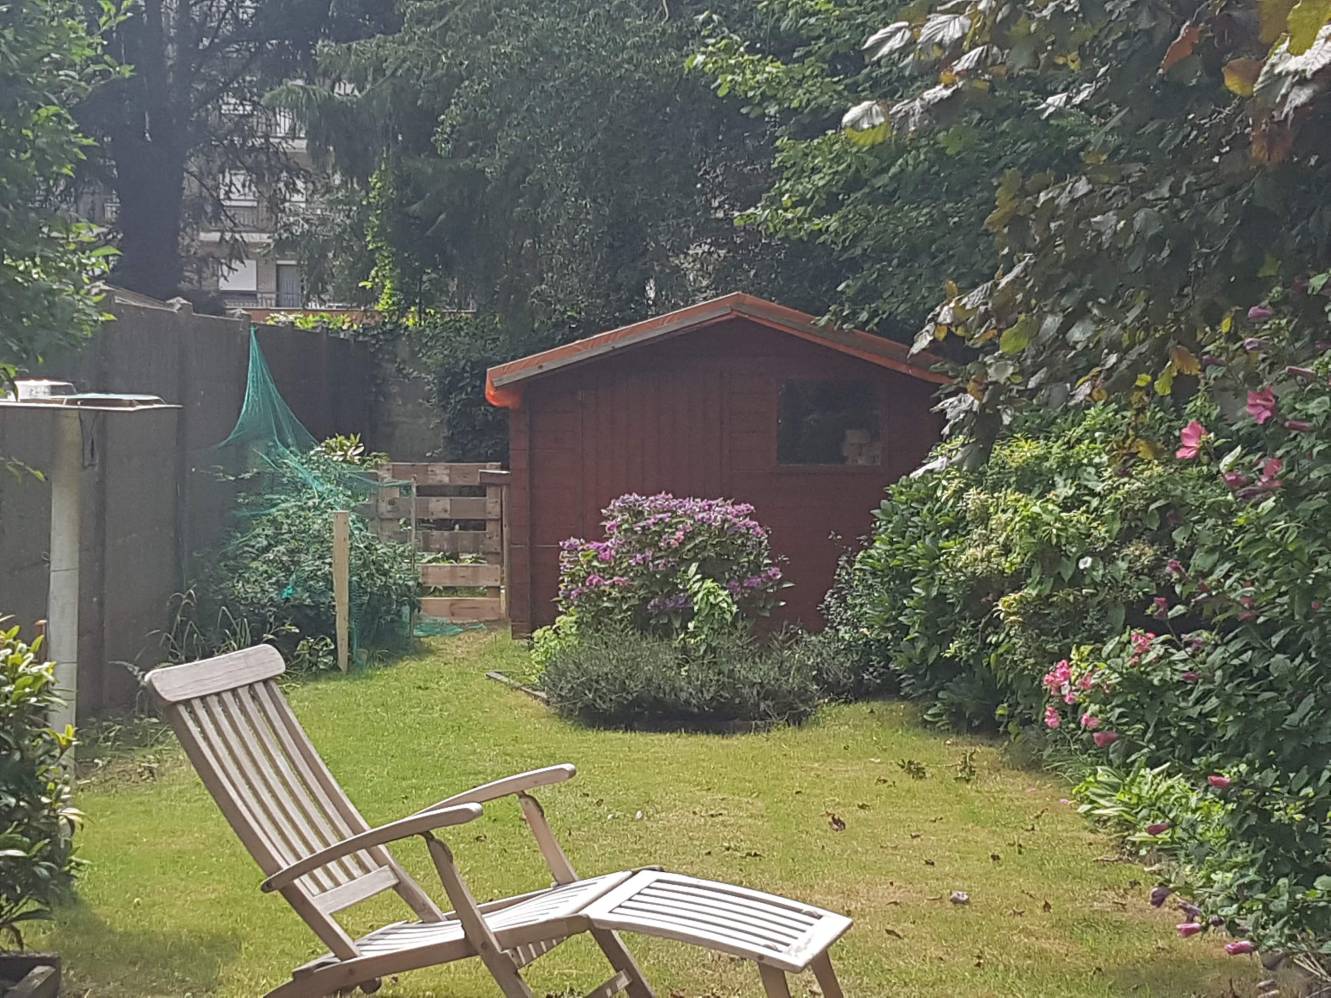
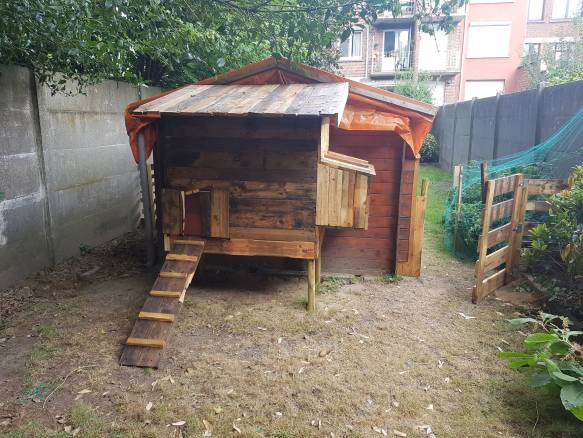
Photos of the building process§


Price§
All in all this probably cost me around 100€. This includes:
- The wooden poles
- The ground drill to make holes for the poles.
- The beams for the internal structure
- The concrete plywood for the floor
- The paintbrush
- The screws
- The metal connecting corners
- 3 liters of sunflower oil to make the thing a bit water resistant.
- The hinges for the gate
But excludes:
- the bigger tools which I already had like a power drill and a multi tool.
- Waterproof foil for the roof. I got some leftovers from my sis.
- The chickens
Further§
A few more things need to be done before it's finished.
I need to close the gaps in the brood box, apparently it should be as dark as possible in there.
I need to install a thick branch which the chickens can use as a roost.
And I need to finalize the roof. This means adding a waterproof foil on the roof and then adding soil & grass. My goal is to make a "Torvtak":
